You can create and save passkeys to replace the passwords you use to sign in to supported websites and apps on your iPad. Passkeys are more secure than passwords, because they’re uniquely generated for every account by your own device and are less vulnerable to phishing, and they also work on all your devices where you’re signed in to the same Apple Account.
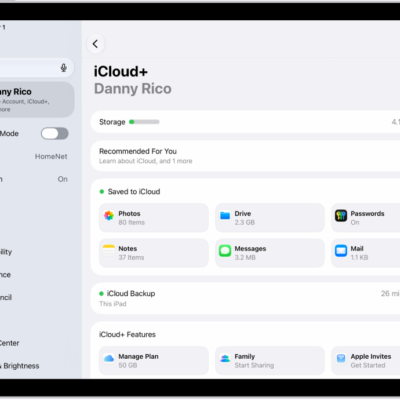
Websites and apps can also create passkeys for your account automatically, so you can use them the next time you sign in. Like passwords, passkeys are encrypted and stored in your iCloud Keychain, where they aren’t visible to anyone, including Apple.
Note: You need iCloud Keychain and two-factor authentication turned on to use passkeys.
Create and save a passkey using your iPad
Websites and apps that support passkeys let you create and save them.
Note: Steps for creating and saving a passkey can differ depending on the app, website, or browser, though they’re usually similar to the ones below.
-
Go to the sign-in screen for a supported website or app on your iPad, and do one of the following:
- If you’re setting up a new account: Tap the button or link for setting up new accounts, then follow the onscreen instructions.
- If you already have an existing account: Sign in with your account name and password and then go to the account settings or management screen.
-
When you see the option to save a passkey for the account, tap Continue.
Your passkey is saved.
Note: If you don’t see a passkey option, it means the website or app doesn’t currently support passkeys.
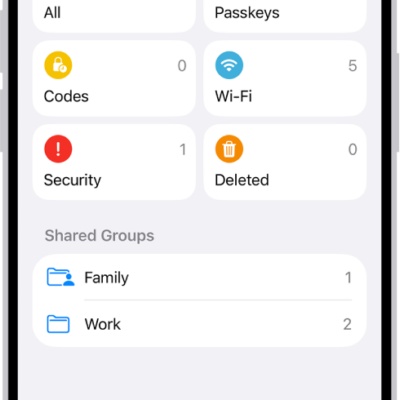
Your iPad stores the passkeys you create in the Passwords app.
A website or app can have both a passkey and a password, and you’ll find them together under the same account in the Passwords app.
You can also save a passkey to a hardware security key. Tap “Other options,” “Save on another device,” or similar (if available), then follow the onscreen instructions for saving a passkey. See Use security keys to sign in to your Apple Account.
Use a passkey to sign in to a website or app on your iPad
You can use a passkey whenever you sign in, after you create and save it for a website or app.
Note: The steps for signing in with a passkey depend on the app, website, or browser, but they’re typically similar to the ones below.
- Go to a website or app on your iPad, and tap the account name field on the sign-in screen.
- Tap the suggested account name that appears at the bottom of the screen or near the top of the keyboard. If the account name doesn’t appear, or you want to use a different one, enter it.
-
Use Face ID or Touch ID to complete sign in. If you didn’t set up Face ID or Touch ID on your iPad, enter your device passcode (the code you use to unlock your iPad).
The passkey you saved completes the sign-in automatically.
Use a passkey saved on your iPad to sign in on another device
With your iPad on hand, you can use the passkeys you created to sign in to websites or apps on a device not associated with your Apple Account, like a computer at a friend’s house, an internet cafe, or a public library.
Note: Using a passkey on another device can involve different instructions depending on the app, website, or browser, but you’ll usually follow steps like the ones below.
- On the other device, go to the website or app and enter your user name in the account name field on the sign-in screen.
- Select “Other options,” “Passkey from nearby device,” or similar and then follow the onscreen instructions to display a QR code on the screen.
-
Use your iPad camera to scan the QR code.
The passkey that’s saved to iCloud Keychain completes the sign-in automatically.
Create a passkey on a device that’s not your own
Having your iPad with you also means you can create a passkey on a device that isn’t associated with your Apple Account, such as a computer at an internet cafe, a public library, or a friend’s house, and save it to iCloud Keychain rather than to that device.
Note: Instructions for creating a passkey vary by app, website, or browser, though the steps below are typical.
-
On the other device, go to the sign-in page for a supported website or app. Do one of the following:
- If you’re setting up a new account: Tap the button or link for setting up new accounts. Enter a new username.
- If you already have an account: Sign in with your account name and password and then go to the account settings or management screen.
-
When you see the option to save a passkey for the account, select “Other options,” “Save on another device,” or similar (instead of Continue).
Note: If you don’t see a passkey option, it means the website or app doesn’t currently support passkeys.
- Select Save a passkey on a device with a camera, or similar and then follow the onscreen instructions to display a QR code on the screen.
-
Use your iPad camera to scan the QR code with your camera.
The passkey is saved to your iPad and iCloud Keychain.
Change a passkey
If you previously shared a passkey with someone you no longer want to give access to, for example, creating a new passkey to replace the existing one may be necessary.
To change a passkey, follow the steps for an existing account in Create and save a passkey or Create a passkey on a device that’s not your own.
Delete a passkey
- Open the Passwords app on your iPad.
- Tap Passkeys and then tap the account for the passkey you want to delete.
- Tap Edit.
- Tap Delete and tap Delete Passkey to confirm.
If you delete a passkey, you can create a new one at any time.
See also
- Add notes for an account with a password or passkey
- Remove a password from your iPad and iCloud Keychain