Using two-factor authentication helps prevent others from accessing your Apple Account, even if they know your Apple Account password. When it’s on, you need both your Apple Account password and a six-digit verification code to sign in to your Apple Account.
The verification code is sent to the phone number associated with your Apple Account, or it’s displayed on your trusted devices. You can add another trusted device, add or remove a trusted phone number, and create a password for an app that signs in with your Apple Account.
Note: Certain account types might not support two-factor authentication. Two-factor authentication isn’t available in all countries or regions.
Turn on two-factor authentication
- Start the Settings app on your iPhone.
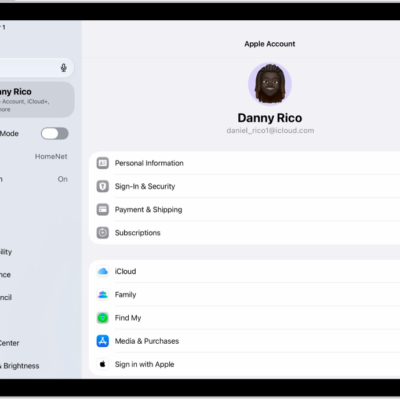
- Tap your name and tap Sign-In & Security.
- Tap Two-Factor Authentication.
- Enter a trusted phone number (the number you’ll use to receive verification codes). Then tap Next. A verification code is sent to your trusted phone number.
- Enter the verification code on your iPhone.
Two-factor authentication is turned on for your Apple Account, and your iPhone is now a trusted device.
Add another trusted device
Once two-factor authentication is on for your iPhone, you can add other trusted devices to the Apple Account.
- On the device you want to add, sign in to the same Apple Account you used to turn on two-factor authentication.
- When prompted, enter the six-digit verification code that appears on your iPhone, another trusted device, a trusted phone number, or your Mac.
- Enter the verification code on the new device.
You’ll only be asked for a verification code again if you sign out completely, erase your device, need to change your Apple Account password for security reasons, or sign in to your Apple Account page in a web browser.
Add or remove a trusted phone number
Trusted phone numbers come in handy if you want to use two-factor authentication but can’t get to the phone number you added when you turned it on.
- Start the Settings app on your iPhone.
- Tap your name and tap Sign-In & Security.
- Tap Two-Factor Authentication.
- Do one of the following:
- Add a number: Tap Add a Trusted Phone Number and enter the phone number.
- Remove a number: Tap the Delete button next to the phone number.
- When you’re finished making changes, tap Done.
Trusted phone numbers don’t automatically receive verification codes. If you can’t access any trusted devices when setting up a new device for two-factor authentication, tap “Didn’t get a verification code?” on the new device, then choose one of your trusted phone numbers to receive the verification code.
View or remove trusted devices
- Start the Settings app on your iPhone.
- Tap your name. A list of the devices associated with your Apple Account appears near the bottom of the screen.
- To remove a device, tap it, then tap Remove from Account.
Removing a trusted device means it can’t display verification codes anymore, and it’s blocked from iCloud (and other Apple services on the device). You can add it back by signing in to your Apple Account again with two-factor authentication.
Generate a password for an app that signs in to your Apple Account
A third-party app or service (like an email, contacts, or calendar app) needs an app-specific password before you can sign in to your Apple Account from it with two-factor authentication.
- Sign in to your Apple Account.
- Tap App-Specific Passwords, then tap Generate an app-specific password.
- Follow the onscreen instructions.
After you generate your app-specific password, enter or paste it into the password field of the app as you would normally.