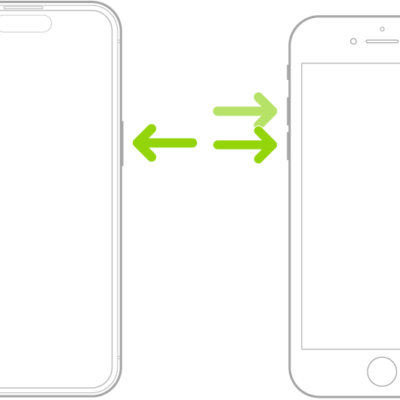
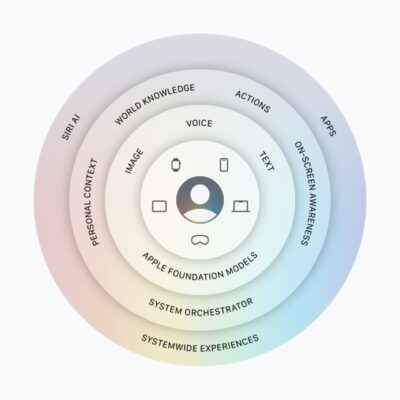
You can securely erase your personal information, content, and settings (such as privacy and network settings) from your iPhone. When you erase your iPhone, it’s restored to factory settings.
Back up your iPhone first, so you can restore your data later on a different device. And if you have an eSIM, you get to choose whether to erase it or keep it, since erasing it means contacting your carrier to reactivate your cellular plan.
Here’s how to erase iPhone.
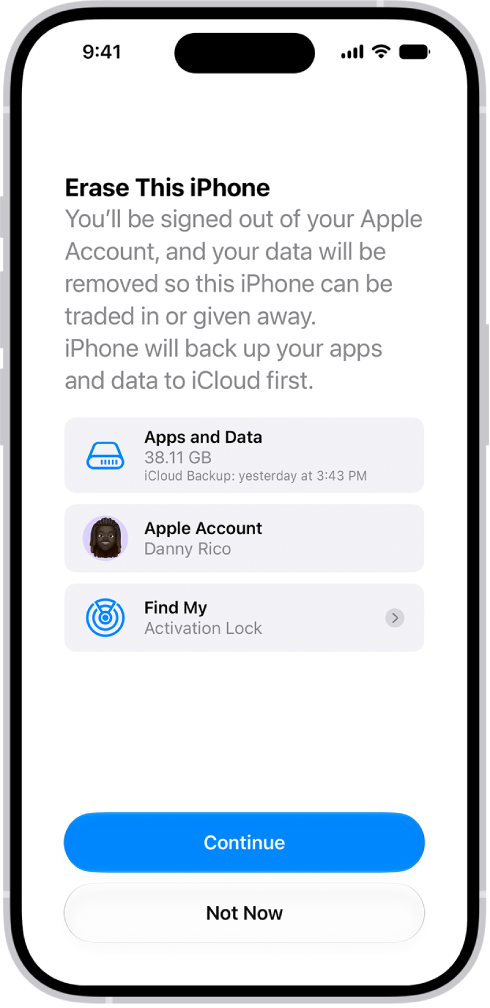
Before you begin
To be able to restore your data later on a different device, back up your iPhone.
Erase iPhone using Settings
- Start the Settings app on your iPhone.
- Tap General, then tap Transfer or Reset iPhone.
- Tap Erase All Content and Settings.
- If asked, enter your iPhone passcode or Apple Account password.
- Tap Continue to confirm.
With an eSIM, you can choose to erase it or keep it, but if you erase it, you’ll need to contact your carrier to reactivate your cellular plan.
Erase iPhone using your Mac or Windows device
- Connect your iPhone to your computer with a USB or USB-C cable.
-
On your Mac, click the Finder icon to open a Finder window, or open the Apple Devices app on your Windows device.
If your Mac is using macOS 10.14 or earlier, or your Windows device doesn’t have the Apple Devices app, open iTunes instead.
- Click the iPhone icon in the Finder sidebar (below Locations) and then click General at the top of the window.
-
Click Restore iPhone and click Restore to confirm.
Note: If you’re signed in to Find My, you need to sign out before you can click Restore.