With Guided Access, you can temporarily restrict iPhone to a single app. This can be useful for parents, teachers, and caregivers, or when you want to stay focused on a task. You can set a time limit, and customize which features, hardware buttons, and areas of the screen are available.
You decide how a session ends, too. You can end a Guided Access session with a passcode, or with Face ID or Touch ID.
Here’s how to lock iPhone to one app with Guided Access.
Set up Guided Access
- Open the Settings app on your iPhone.
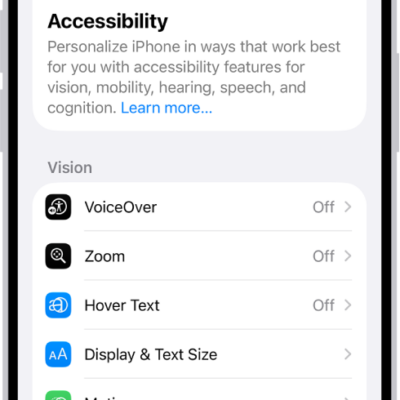
- Tap Accessibility, tap Guided Access, and turn on Guided Access.
- Do any of the following for Guided Access sessions:
- End a session with a passcode: Tap Passcode Settings, tap Set Guided Access Passcode, and enter a passcode.
- End a session with Face ID or Touch ID: Tap Passcode Settings. Turn on Face ID (on an iPhone with Face ID) or Touch ID (on other iPhone models).
- Play a sound to announce time limits: Tap Time Limits, tap Sound, and then select a sound or tap Tone Store to browse other options.
- Hear time limits spoken: Tap Time Limits. Turn on Speak to hear the time remaining before a Guided Access session ends.
- Allow Accessibility Shortcut during a session: Turn on Accessibility Shortcut.
- Set how long it takes iPhone to lock automatically: Tap Display Auto-Lock, then select an option.
Start a Guided Access session
- Go to the app you want to use.
- To turn on Guided Access, do one of the following:
- Siri: Ask Siri something like, “Turn on Guided Access.”
- Use Control Center if you’ve added Guided Access there.
- Use the Accessibility Shortcut.
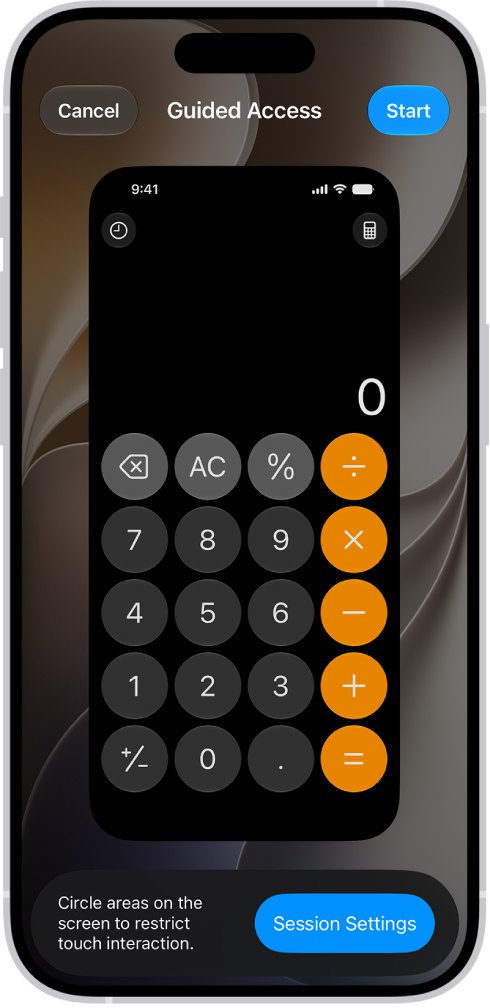
- Circle any areas of the screen you want to disable. Drag the mask into position or use the handles to adjust its size.
- Tap Session Settings and then turn on or off any of the following:
- Side Button
- Volume Buttons
- Motion (to prevent iPhone from switching from portrait to landscape or from responding to other motions)
- Software Keyboards
- Touch
- Time Limit
- Tap Done and tap Start.
Important: Crash Detection and Emergency Services aren’t available while using Guided Access. Exit Guided Access to use Crash Detection or to make emergency calls.
End a Guided Access session
To end a Guided Access session, you’ll enter your Guided Access passcode or use Face ID, depending on which passcode options you chose when you set up Guided Access.
- Use the passcode: Triple-click the side button (on an iPhone with Face ID) or Home button (on other iPhone models), then enter your Guided Access passcode.
- Use Face ID or Touch ID: If you turned on the Face ID or Touch ID option in Guided Access Passcode Settings, triple-click the side button or Home button, then unlock your iPhone with Face ID or Touch ID (depending on your iPhone model).