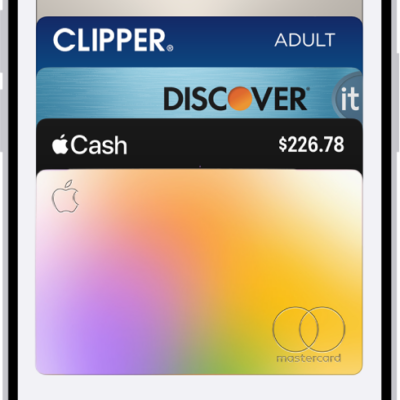
With your eligible cards stored in Apple Wallet, you can use Apple Pay in apps, App Clips, and online. Using Apple Pay can be simpler and safer than using a physical card.
Your actual card number is never shared with merchants, and each transaction uses a unique security code. You can also choose a different payment card, pay with rewards or installments on cards from participating issuers, and use Apple Pay in third-party browsers.
Note: Apple Pay and its features aren’t available in all countries or regions.
Use Apple Pay for purchases online and in apps
The Apple Pay button marks where you can make purchases in supported apps, App Clips, and websites.
- At checkout, tap the Apple Pay button.
-
Review the payment information and set any of the following:
-
Payment method
You can choose a different payment card; you can also pay with rewards or installments (available on cards from participating banks and card providers in certain markets; subject to eligibility and approval).
- Billing and shipping addresses
-
Contact information
Tip: If you subscribe to iCloud+, you can use Hide My Email to keep your real email address private.
-
Payment method
- Authenticate with Face ID, Touch ID, or your passcode to complete the payment.
Use Apple Pay in third-party browsers on Mac, Windows devices, and other devices
When you shop in a third-party web browser on a supported website, you can complete the purchase using Apple Pay on your iPad. (Not available in all countries or regions.)
- At checkout, click Apple Pay. Then scan the code using your iPad camera.
- On your iPad, review the payment information and set any of the following:
- Payment method
- Billing and shipping addresses
- Contact information
- Authenticate with Face ID, Touch ID, or your passcode to complete the payment.
Check out on iPad and pay with your iPhone
If you don’t have Apple Pay set up on your iPad, your iPhone can complete the payment.
Note: Your iPhone must be on the same Wi-Fi network as your iPad, signed in to the same Apple Account, and use iOS 27 or later. Not available in China mainland.
- At checkout on your iPad, tap the Apple Pay button.
- When you see Continue on iPhone, review the payment information on your iPhone and make any changes.
- Authenticate with Face ID, Touch ID, or your passcode to complete the payment.
View preauthorized payments
See preauthorized payments made with Apple Pay for future and recurring charges such as subscriptions.
- Open the Settings app on your iPad.
- Tap Wallet & Apple Pay, then tap Preauthorized Payments.
- Tap a payment to see the details.
- To cancel your service or manage the payment methods, contact the merchant directly. (For participating merchants, tap Manage.)
-
To prevent the merchant from automatically charging your card, tap Revoke Payment Authorization.
Note: Revoking the payment authorization doesn’t cancel your service.
Set your default card, address, and preferences for Apple Pay
- Open the Settings app on your iPad.
- Tap Wallet & Apple Pay and tap Apple Pay Defaults.
- Set any of the following:
- Transaction defaults: Set the default card, your shipping address, email, and phone number.
- Available payment options: Turn on or off Pay Later, Rewards, Offers, and Other Pay Later Options.
See also