You can use the Contacts app to create, find, share, and delete contacts.
Siri can even suggest new contacts based on what you do in Mail and Calendar. You can also search your contacts using Spotlight, and quickly reach a contact with a call, message, or email. And you can change the default phone number or email address for a contact.
Here’s how to add and use contact information on iPad.
Siri: Siri can update information about a contact. Say something like, “Sarah Milos is my sister.” Learn how to use Siri.
Create a contact
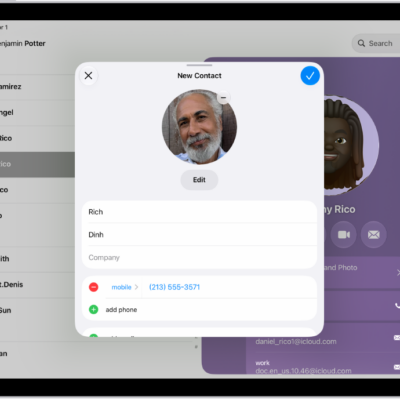
- Start the Contacts app on your iPad.
- Tap the Add button.
- Enter details for the contact such as name and phone number and tap the Done button.
Siri suggests new contacts based on your activity in other apps, such as Mail and Calendar. Siri also suggests adding contact information in other apps based on how you use Contacts. To turn off either feature, go to the Settings app, tap Apps, then tap Contacts. Tap Siri (or Apple Intelligence & Siri), then turn off Show Contact Suggestions or Learn from this App.
Find a contact
Tap the search field at the top of the contacts list, then enter a name, address, phone number, or other contact information.
You can also search your contacts with Search (see our guide, Search with Spotlight).
Share a contact
- Start the Contacts app on your iPad.
- Tap a contact and tap Share Contact. Then choose the fields you want to share.
- Tap the Done button then choose a sharing option, such as Messages or Mail.
Quickly reach a contact
- Start the Contacts app on your iPad.
- Tap a contact.
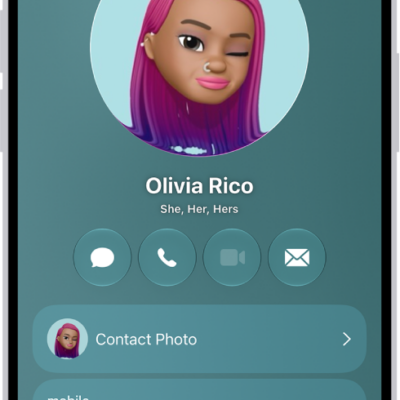
- Tap a button below the contact’s name to do any of the following: start a message, make a phone call or a FaceTime call; or compose an email.
To change the default phone number or email address for a contact method, touch and hold the button for that method below the contact’s name, then tap a selection in the list.
Delete a contact
- Start the Contacts app on your iPad.
- Go to the contact’s card and tap Edit.
- Scroll down, tap Delete Contact, and then tap Delete Contact again to confirm your edit.
See also