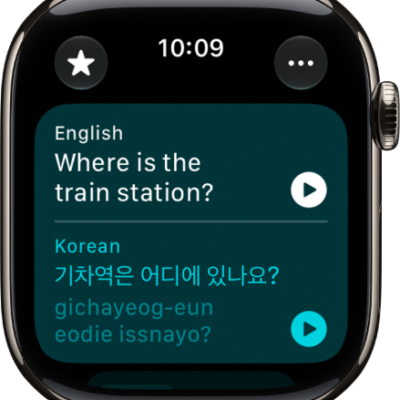
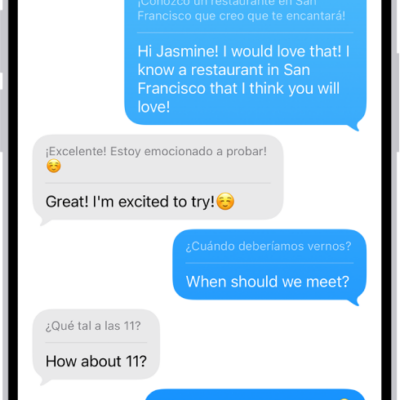
You can customize your preferences for the Translate app in Settings. Download languages, use on-device translation, or choose a different default translation app.
On-device translation keeps processing on your iPad instead of Apple servers, even without an internet connection. With Automatic, translations may be processed on Apple servers when the languages aren’t downloaded. With Always, translations are always processed on your iPad using your downloaded languages, which also work for Live Translation and offline use.
Here’s how to change your Translate settings on iPad.
Download languages
Download languages for on-device translation, Live Translation, or offline use.
- Open the Settings app on your iPad.
- Tap Apps, tap Translate, and tap Languages.
- Tap the Download button next to the languages you want to download.
Choose when to use on-device translation
Your translations are processed on your iPad, not on Apple servers, when you use on-device translation, even without an internet connection.
- Open the Settings app on your iPad.
- Tap Apps and then tap Translate.
- Set On-Device Translation to one of the following options:
- Automatic: Translations are processed on your device when the languages are downloaded; otherwise, translations may be processed on Apple servers.
- Always: Translations are always processed on your device using your downloaded languages.
Choose a default translation app
If you have multiple translation apps, you can change the default.
- Open the Settings app on your iPad.
- Tap Apps and then tap Translate.
- Tap Default Translation App, then choose an app.
See also
- Translate words and phrases on iPad
- Use the camera in the Translate app on iPad
- Translate in-person conversations with iPad