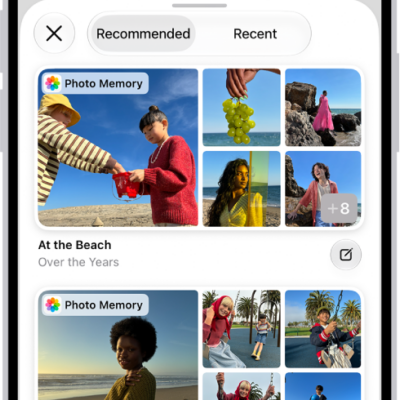
Learn how to use the Journal app on iPad to record your experiences. You can add photos, music, drawings, audio recordings, and even your current state of mind, and you can sketch or handwrite your entries with Apple Pencil (see compatibility) or your finger. Later, you can look back through your previous entries, or see only certain types of entries.
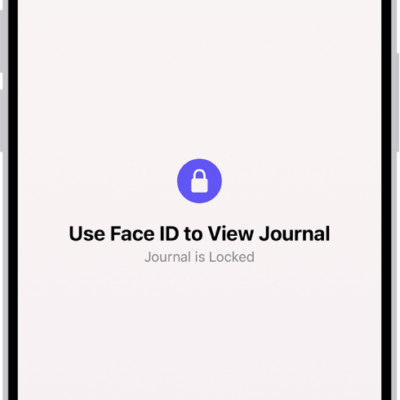
You can sync journaling suggestions from iPhone to iPad when you’re signed in to the same Apple Account, and protect your journal with Face ID, Touch ID, or your passcode, so only you can access it.
Set up Journal
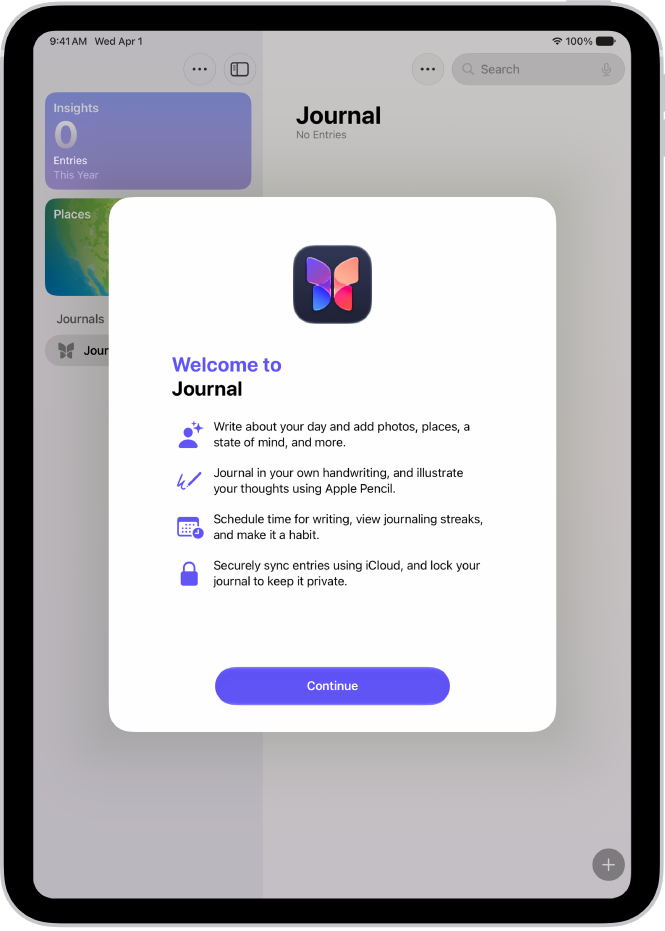
The first time you open Journal, follow the onscreen instructions to set up. When you’re signed in to the same Apple Account, you can sync journaling suggestions from iPhone to iPad. Go to Settings, then tap Privacy & Security. Tap Journaling Suggestions, tap Turn On Journaling Suggestions, then turn on Allow Sync to iPad.
Create a journal entry
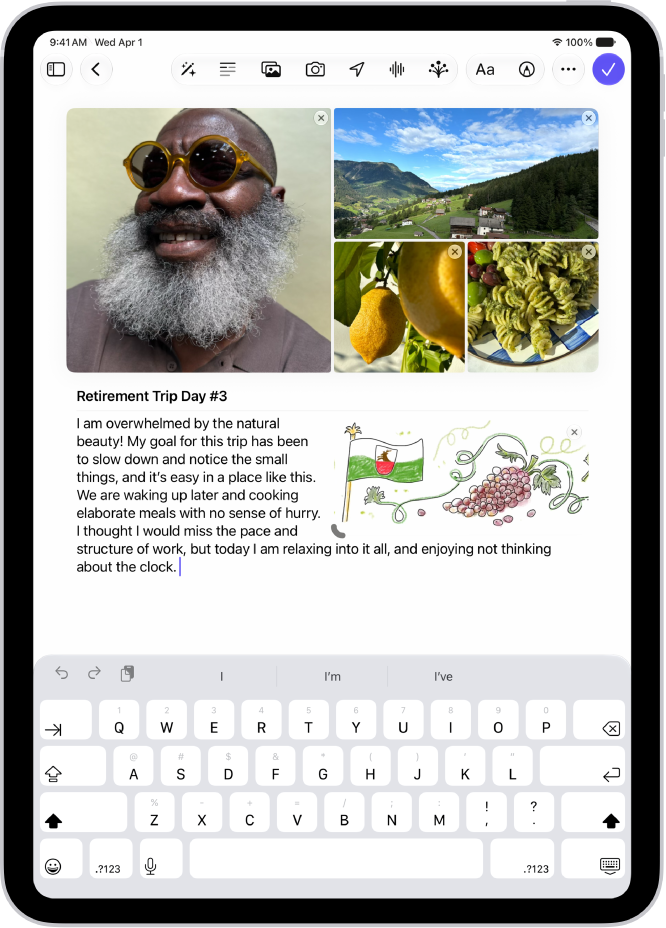
Tap the Create an Entry button at the bottom of the screen, then start writing. Tap the Add Drawing button to add a drawing.
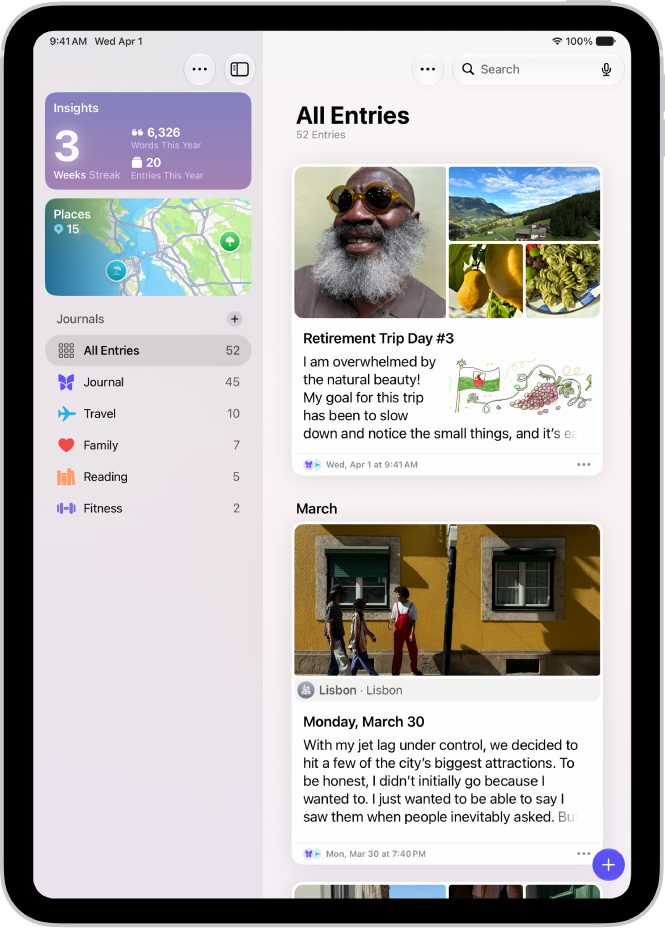
Review your journal entries
Scroll through your journal to see previous entries. To see only certain types of entries, tap the Search button, then either choose a category such as Photos or Drawings, or type the text you’re looking for.
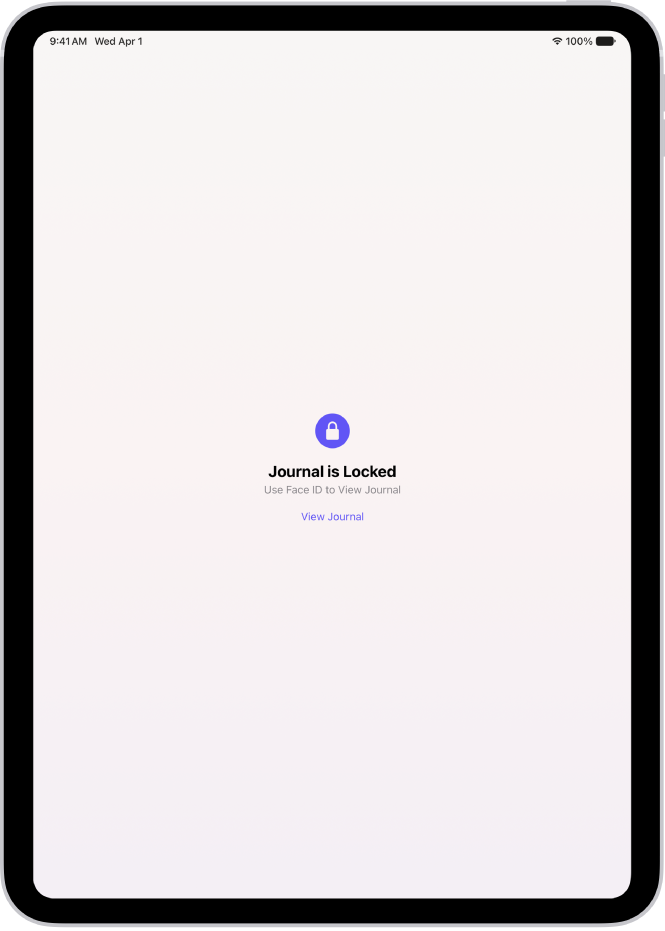
Keep your journal private
Protect your journal so only you can access it with Face ID, Touch ID, or your passcode.
To do more with Journal, try these guides next:
- Write in your journal on iPad
- View and search your journal entries on iPad
- Change your Journal settings on iPad
- Add formatting, photos, and more in Journal on iPad