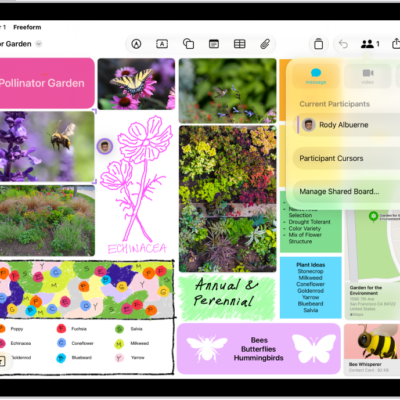
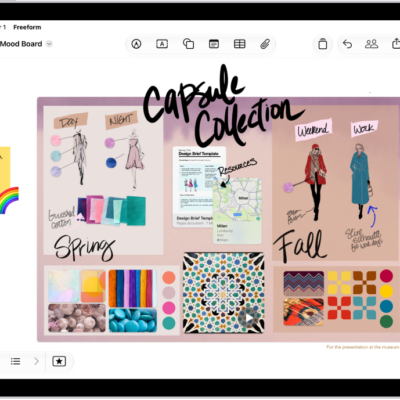
You can save scenes—saved views of your board—to organize your boards into sections, then quickly navigate and present those parts of your board to others.
Scenes let you label content so you can present your board section by section, and rearrange the order you present it in. You can also use scenes to pick the parts of your board you want to print or export as a PDF, and you can save scenes in any order, then edit their sequence after you capture them.
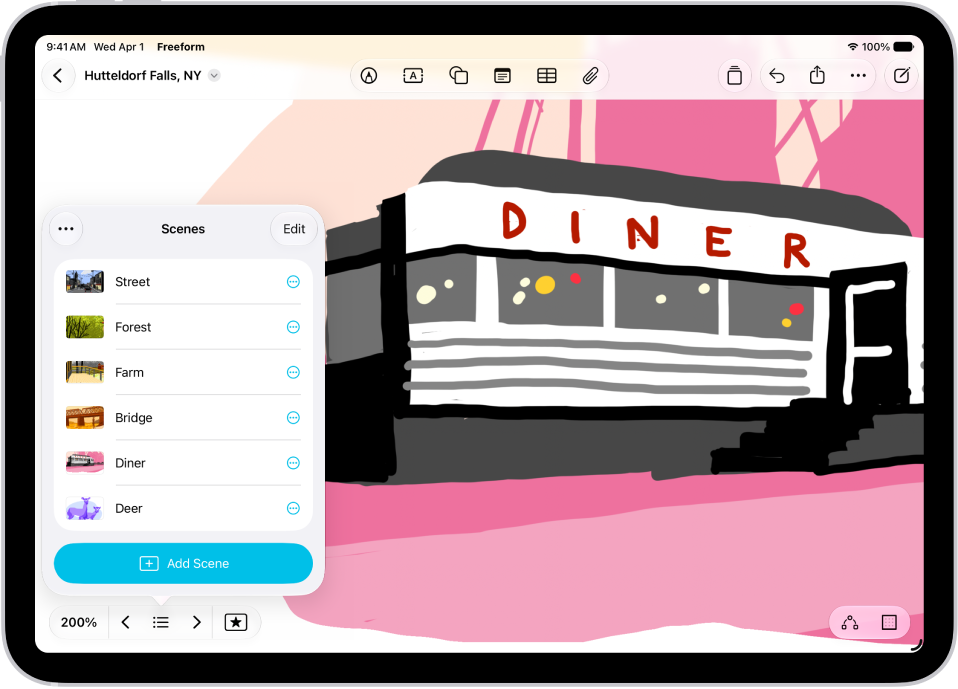
Set up different parts of your board as scenes
To present or print parts of your board section by section, use scenes to identify and label content. You can also rearrange the order in which you present or print them.
- Go to the Freeform app on your iPad.
- Open a board with content.
- Zoom and scroll until you frame the part of your board you want on the screen for your first scene.
-
Tap the Scenes button.
The Scene Navigator opens at the bottom-left of your board.
- Tap the Scene Navigator button, then tap Add Scene.
-
Repeat these steps until you capture all the scenes you want: Frame your next scene, tap the Scene Navigator button and then tap Add Scene.
Tip: Don’t worry about saving scenes in order. You can edit their sequence after you capture them.
Navigate scenes
- Start the Freeform app on your iPad.
- Open a board with saved scenes.
- Tap the Scenes button and then do any of the following:
- Tap the Scene Navigator button, then tap the scene you want to go to.
- Tap the Back button and the Forward button to move between scenes.
Note: If you’re on a different device or using a different view than the person who captured a scene, it may look different to you. Say someone captured a scene on a Mac: When you view it on an iPad in portrait orientation, it may be framed differently.
Edit scenes
- Start the Freeform app on your iPad.
- Open a board with saved scenes.
- Tap the Scenes button and tap the Scene Navigator button. Then do any of the following:
- Change the name of a scene: Touch and hold the scene whose name you want to change and tap Rename Scene. Enter a new name, then tap the Done button.
- Reframe a scene: Move to another part of the board, touch and hold the scene you want to reframe, and then tap Replace Scene.
- Rearrange the view order: Tap Edit and touch and hold the Reorder button. Then drag the scene up or down, then tap the Done button.
- Delete a scene: Swipe left on the scene, then tap Delete.
Print or export scenes
- Start the Freeform app on your iPad.
- Open a board with saved scenes.
- Tap the Actions Menu button and then do one of the following:
- Print all scenes: Tap Print and tap Scenes. Then tap Print.
- Export all scenes: Tap Export as PDF, tap Scenes, and then choose how you want to share the file or tap Save to Files.
Printed and exported scenes default to the size of the device you’re on. To print the scenes as they were originally framed, tap Freeform Options, then select Capturing Device.
Quick tip: You can print or export a single scene. Just touch and hold its name in the Scene Navigator and choose an option.
All participants can access any scenes saved in a board.
See also
- Send a copy or PDF of a Freeform board on iPad
- Collaborate in Freeform boards and folders on iPad
- Position items on a Freeform board on iPad