You can organize places into your own guides for easy reference, and you can share your guides with others.
There’s always one guide to start with. A guide called Favorites always appears in your guides, which makes it easier for you to save places. From there, you can create a guide, add places to it, edit it, or remove it.
Here’s how to organize places with custom guides in Maps on iPhone.
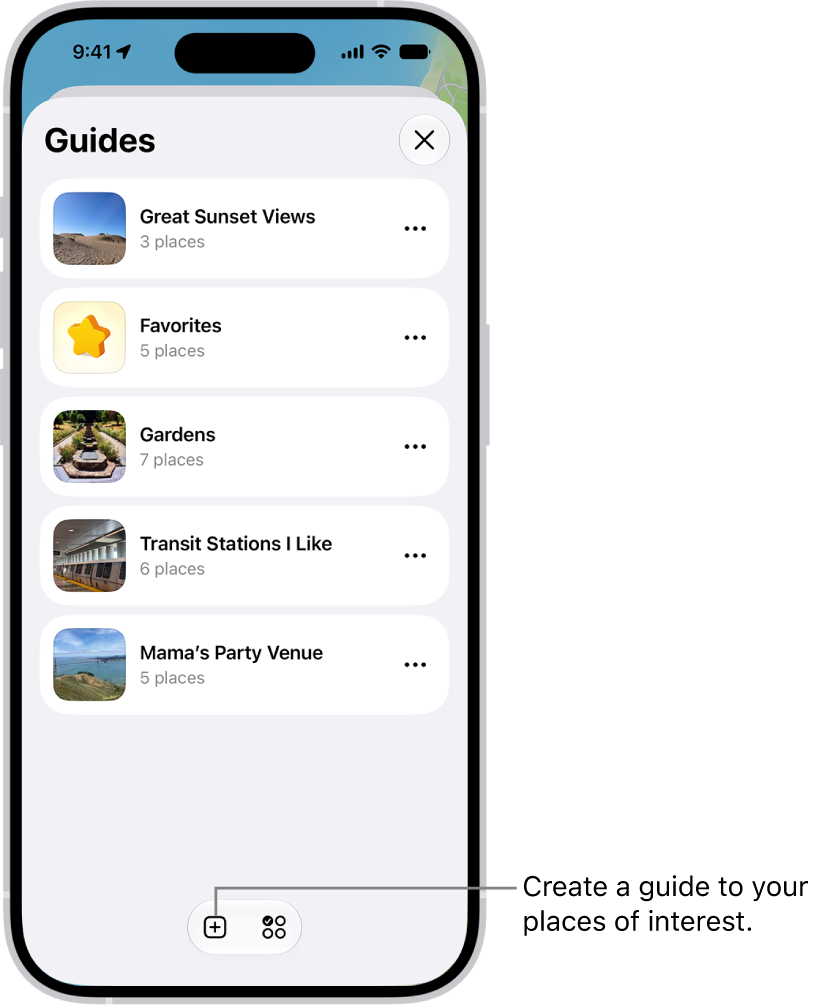
See your favorites
Your guides always include a guide called Favorites.
It makes saving places to a guide easier for you.
- Start the Maps app on your iPhone.
- Tap Your Guides, then tap Favorites.
Quick tip: To see certain places in your Places whenever you open Maps, you can pin any places you like.
Create a guide
- Start the Maps app on your iPhone.
- Tap Your Guides. Tap the Add to List button.
- Enter a name for the guide and then tap the Add Image button to add an image from your photo library (optional).
- Tap the Done button.
Add a place to a guide
- Start the Maps app on your iPhone.
- Tap a place on the map or a search result.
- In the place card, tap the More button, then tap Add to Guides.
- Choose one of your guides and tap the Done button.
You can save Publisher Guides to your guides, too.
Share a guide
- Start the Maps app on your iPhone.
- Tap Your Guides. Tap the guide you want to share.
- Tap the Share button, then choose an option.
Edit a guide that you created
- Start the Maps app on your iPhone.
- Tap Your Guides, then tap the guide you want to edit.
- Tap the Edit button. Then rename it or do any of the following:
- Choose a cover image: Tap the Change Image button, tap another image, and tap Choose.
- Remove places: Tap to select the places you want to delete from the guide and then tap the Delete button.
- Tap the Done button.
Remove a guide
- Start the Maps app on your iPhone.
- Tap Your Guides, tap the More button on the guide you want to remove, tap Delete from Places, and then tap Delete.
Tag: Maps