When you subscribe to iCloud+, you can add up to five custom email domains and create email addresses for those domains on your iPad. You can then send and receive mail in Mail on your iPhone, iPad, and Mac, on iCloud.com, and in an email app on a Windows device.
You can add a domain you already own or buy a new one, and import your existing email messages. You need a primary iCloud Mail address first, though.
Note: Sign in to the same Apple Account on each device. Any device where you’re not signed in to your Apple Account, or where the Mail feature is off, won’t show your custom email domains and mail.
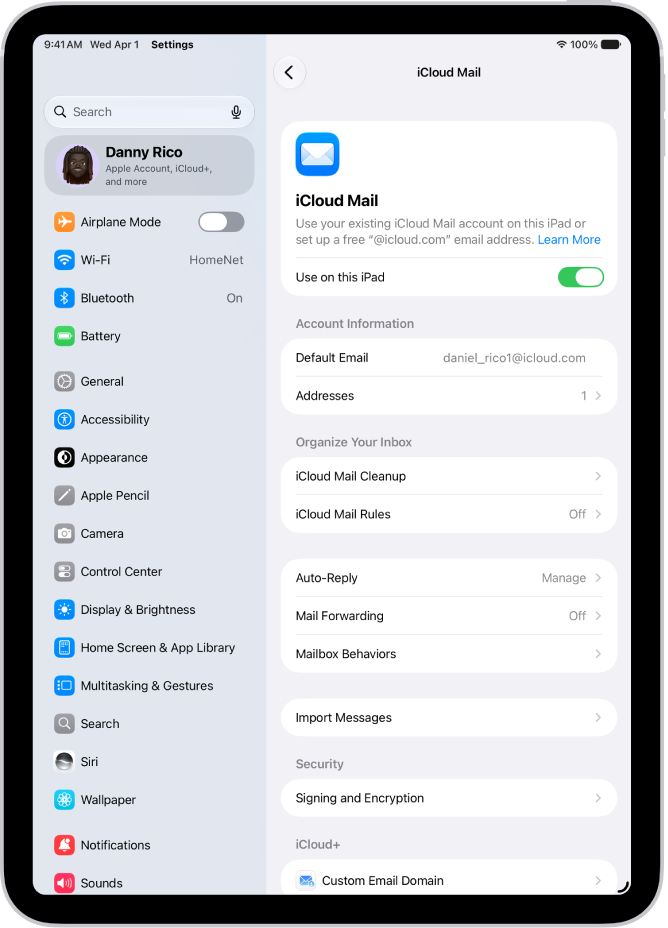
Add a custom email domain to iCloud Mail
If you already own a custom email domain, you can bring it to iCloud Mail, or you can buy a new one.
Note: Adding a custom email domain on iPad won’t work until you have a primary iCloud Mail address.
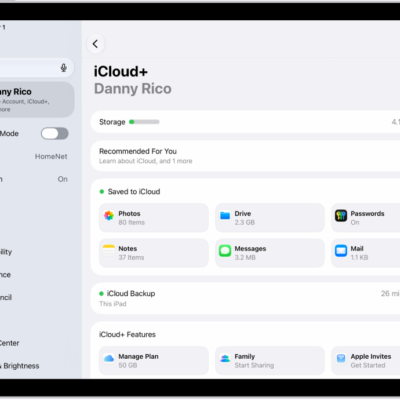
- Open Settings, tap [your name], tap iCloud and tap Mail (under Saved to iCloud). Then make sure Use on this iPad is turned on.
-
Tap Custom Email Domain. Tap one of the following:
- Buy a Domain: Choose this option if you don’t yet have a custom domain. After you purchase it, you can create custom email addresses.
- Use a Domain You Own: Choose this option if you already have a domain, and you want to use it with iCloud Mail. You can configure email addresses you already have at that domain, and create more.
-
Follow the onscreen instructions.
If you’re adding a domain you already own, some registrars require you to change DNS records to set up your domain.
Import existing email messages
When you or a member of your Family Sharing group has set up a custom email domain for iCloud Mail, iCloud.com can import existing email messages from your previous email provider, though that’s not available for all email providers.
Create and delete email addresses
After you add a custom domain name, it’s easy to create and delete email addresses for that domain.
- Open Settings, tap [your name], tap iCloud and tap Mail (under Saved to iCloud). Then make sure Use on this iPad is turned on.
- Tap Custom Email Domain. Then tap the domain you want to make changes to.
- Tap Manage Email Addresses, then do one of the following:
- Add a new email address: Tap Create Email Address, enter the new address, and tap Continue.
- Delete an email address: Swipe left on an email address, tap Delete, and tap Remove.
- Add People: Tap to invite someone to your custom email domain.
Remove a custom email domain
If you no longer want to use a custom email domain, your iPad can remove it. When you remove a custom email domain, iCloud Mail can’t send or receive email for any addresses at that domain.
- Open Settings, tap [your name], tap iCloud and tap Mail (under Saved to iCloud). Then make sure Use on this iPad is turned on.
- Tap Custom Email Domain. Then tap Edit next to Your Domains.
- Tap the Delete button and tap Delete.
- If you’re moving your domain to a new provider, make sure to do the following:
- Go to your domain registrar to update the domain records to your new email provider and remove iCloud-related records.
- Set up any email addresses you want to continue using with your new provider.
Note: If you remove a custom email domain, your primary @icloud.com address can still send and receive email.
Allow all incoming messages to your domain
If you use your iCloud email address as a catch-all address, you receive all messages sent to your custom email domain, even when the exact address they were sent to hasn’t been created yet.
- Open Settings, tap [your name], tap iCloud, and then tap Mail (under Saved to iCloud).
- Tap Custom Email Domain and tap your custom domain.
- Turn on Allow All Incoming Messages.
If the domain owner allows all incoming messages, any messages that aren’t sent to an active email address go to the domain owner’s inbox. If this setting isn’t turned on, those messages are returned to the sender.
Note: Messages sent to deleted email addresses automatically go back to the sender.
See also