On supported iPad models, Camera can automatically detect and scan documents within the camera frame. After you scan a document, you can save it in the Files app, open it in the Preview app, or share it using AirDrop or an app like Mail or Messages.
You can scan additional pages, too, and edit or delete the scans. iPad automatically captures the page, or you can capture the scan yourself instead, and on supported models, the flash can remove shadows and enhance colors. You can also search the scan.
-
Open Camera on your iPad.
Make sure Camera is in Photo mode.
-
Position iPad so the document appears on the screen and tap Scan Document; iPad automatically captures the page.
To capture the scan yourself instead of automatically, tap Manual, then tap the Shutter button.
Tip: On supported models, turn on the flash to remove shadows and enhance colors.
- Repeat the steps above to scan additional pages.
- Tap the thumbnails at the bottom of the screen to edit or delete the scans. Then tap the Back button.
-
Tap the Done button when you’re done scanning. Then choose one of the following:
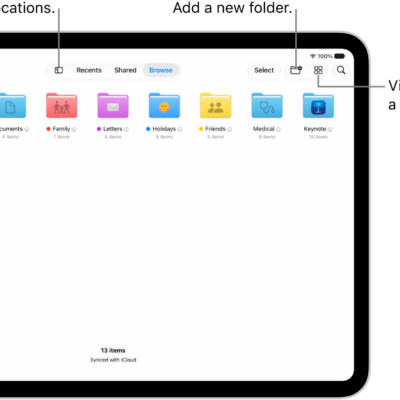
- Save the scan in the Files app: Tap Done, tap Save to Files, and then tap Save.
- Open the scan in the Preview app: Tap Preview.
- Search the scan: Tap the Search button.
- Share the scan using AirDrop, Mail, Messages, or another app: Tap the Share button, then tap a share method.
- Delete the scan: Tap Done, then tap Delete.
See also