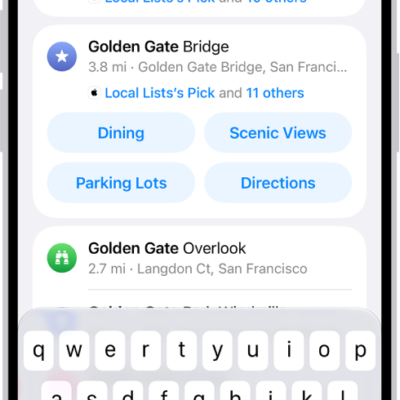
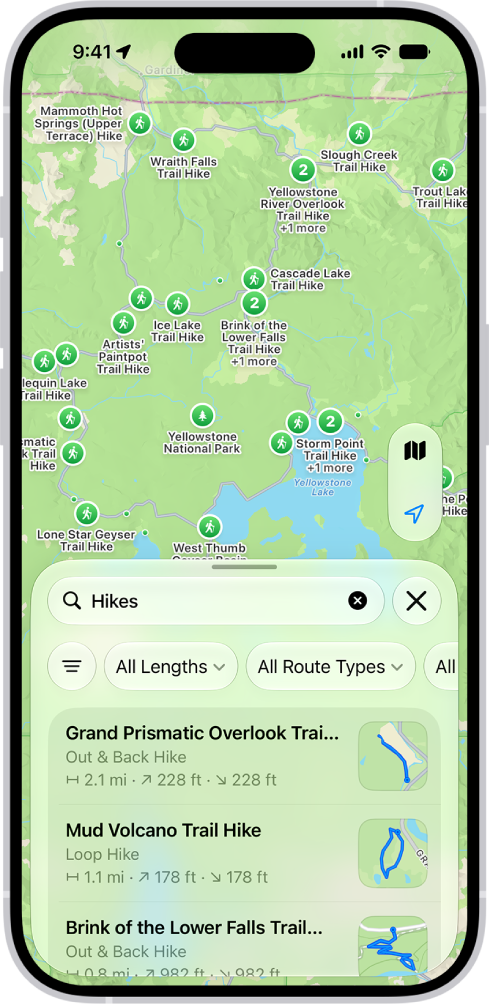
You can customize a walking path to plan a hike, an exercise route, or a city tour. In U.S. national parks, you can browse hikes and filter them by length, elevation, and route type.
And you don’t need a signal to use them later. You can save the routes, along with any notes you add, to access when you’re offline.
Here’s how to save walks or hikes in Maps on iPhone.
Note: Not all features are available in all countries and regions.
Create your own walking or hiking route
- Open the Maps app on your iPhone.
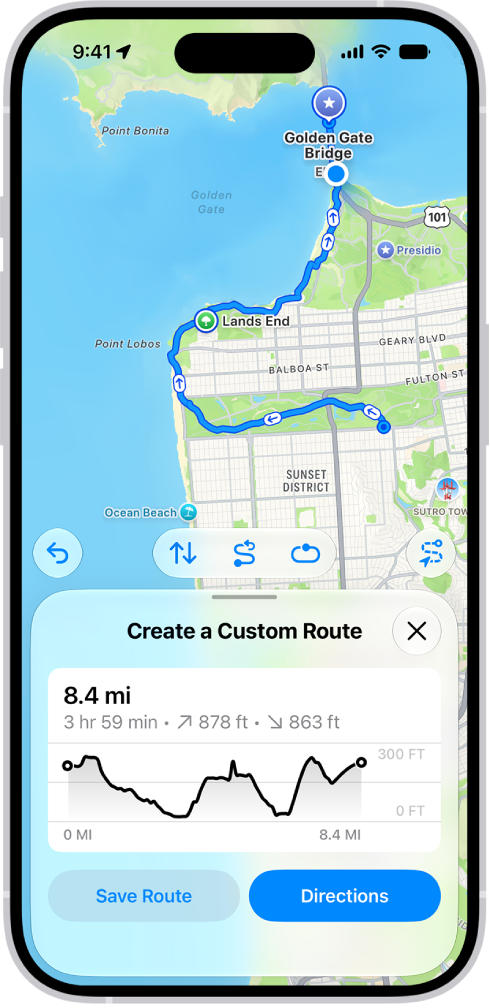
- To select a starting point on the map, touch and hold any road, path, trail, or other place accessible by walking to drop a pin and tap the More button. Tap Create a Custom Route.
- Tap other points along your route.
-
To remove a point, tap it and then tap Remove Point, Remove Start Point, or Remove End Point.
Do any of the following to complete your route: Reverse a route: Tap the Reverse button.
- Retrace your steps: Tap the Out & Back button.
- Close a loop: Tap the Close Loop button.
- Undo a point: Tap the Undo button.
- Do one of the following: Go to the starting point: Tap Directions (available if you’re not near the route).
- Start turn-by-turn walking directions: Tap Go (available near the start of the route).
- Save the route for later: Tap Save Route, name the route and add notes (optional). Tap the Done button.
Quick tip: With Download Map turned on, you can access the route and the surrounding map even without an internet connection.
Browse and save hikes
To search for hikes, you need to be online.
- Open the Maps app on your iPhone.
Make sure you’re in the Explore map, indicated by the Map Modes button.
- Search for hikes in [national park name] and then tap the search result.
To narrow down your choices, tap the filters, such as All Lengths or All Route Types.
- Swipe left to see more options.
-
Tap to open the hike, then tap the Add button.
You can also do one of the following instead of saving the hike to your Routes: If you’re near the start of the route: Tap Directions to navigate to the trailhead.
- If you’re not near the route: Tap Go to start turn-by-turn walking directions.
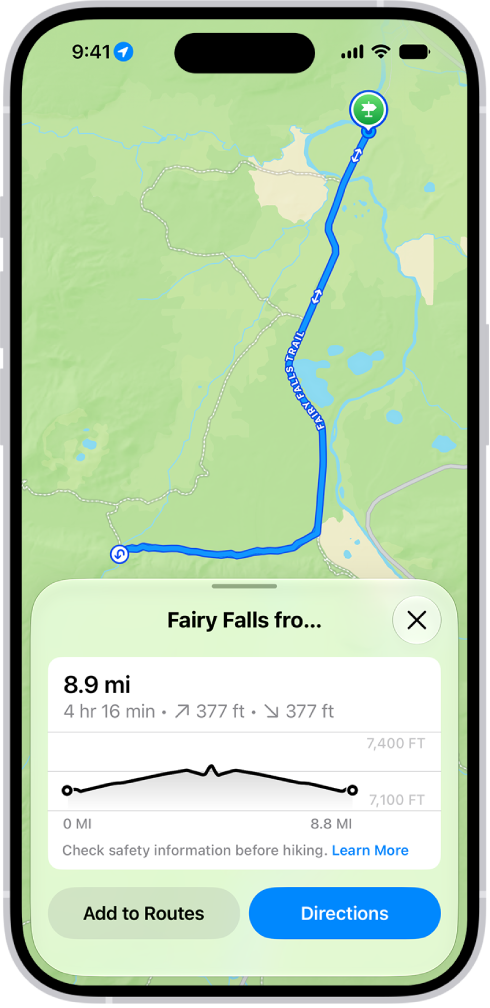
Quick tip: Turn on Download Route to access the route and the surrounding map on your iPhone even without an internet connection.