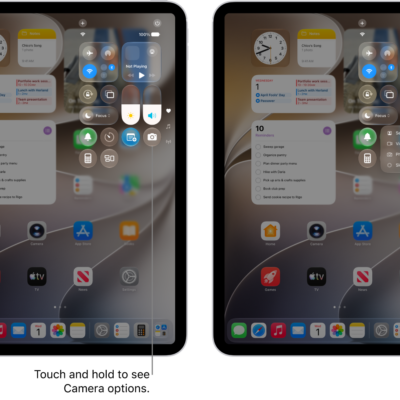
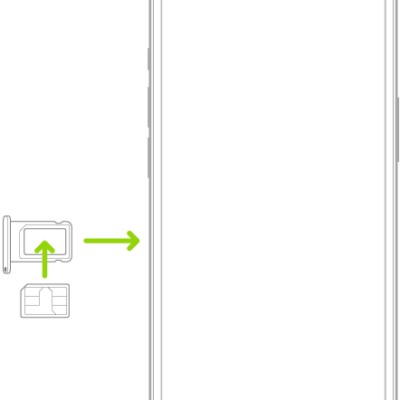
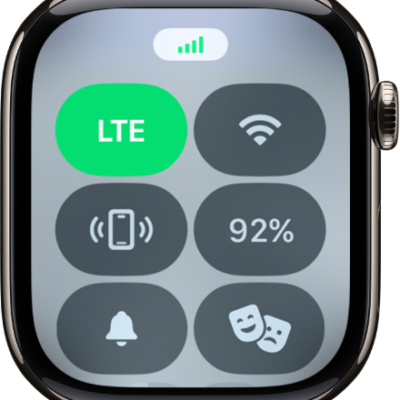
If you have a Wi-Fi + Cellular model, you can sign up for a cellular data plan, which keeps you connected to the internet when you’re away from a Wi-Fi network. On models that support eSIM, you can activate cellular service right from your iPad.
You may also be able to use a local carrier’s cellular service when you travel abroad. And you can add another cellular plan, or scan a QR code from your carrier.
The cellular connection requires a SIM and a wireless data plan from a carrier. iPad supports the following types of SIM:
- eSIM (on supported models; not available from all carriers or in all countries and regions)
- Physical SIM (on supported models; not available from all carriers or in all countries and regions)
Some iPad models can connect to 5G networks.
Set up eSIM
If your iPad model supports eSIM, you can activate the cellular service from your iPad. When you travel abroad with iPad, you may also be able to get cellular service from a local carrier in the country or region you’re visiting.
Note: eSIM isn’t available in all countries and regions, and not all carriers are supported.
- Start the Settings app on your iPad.
- Tap Cellular Data, then do one of the following:
- Set up the first cellular plan on your iPad: Select a carrier and then follow the onscreen instructions.
- Add another cellular plan: Tap Add a New Plan.
- Scan a QR code provided by a carrier: Tap Other. Then position iPad so that the QR code provided by your carrier appears in the frame, or enter the details manually. You may be asked to enter a confirmation code provided by your carrier.
- To change or check the status of your plan, open the Settings app and tap Cellular Data.
Alternatively, you can activate your cellular plan through your carrier’s app (if supported). Go to the App Store, download your carrier’s app, then use the app to purchase a cellular plan.
You can store more than one eSIM on your iPad, but you can use only one eSIM at a time. To switch to another eSIM, go to the Settings app, tap Cellular Data, then tap the plan you want to use (below SIMs).
Install a physical SIM
On models that support physical SIM, you’ll get a nano-SIM card from a carrier.
-
Insert a paper clip or SIM eject tool (not included) into the small hole of the SIM tray. Push in toward iPad to eject the tray.
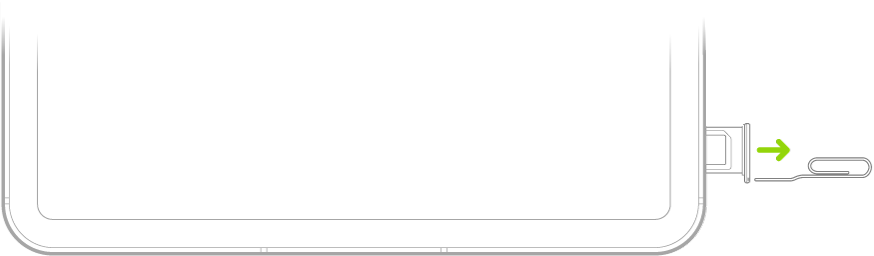
Note: The shape and orientation of the SIM tray depend on the iPad model and your country or region.
- Remove the tray from iPad.
-
Place the SIM in the tray. The angled corner determines the correct orientation.
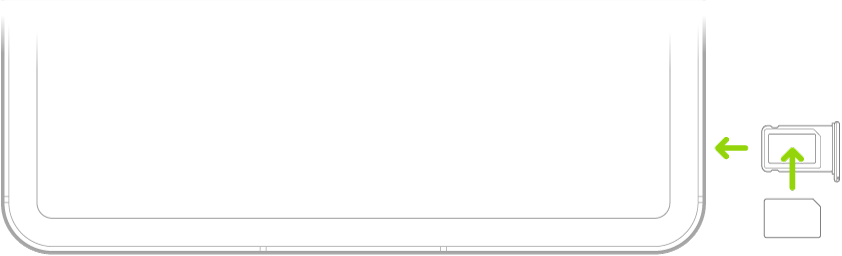
- Insert the tray back into iPad.
-
If you previously set up a PIN on the SIM, carefully enter the PIN when prompted.
WARNING: Never try to guess a SIM PIN. An incorrect guess can permanently lock your SIM, and you won’t be able to use cellular data through your carrier until you get a new SIM.
Lock your SIM card
To prevent others from using the SIM card your device uses for cellular data, lock the card with a personal identification number, or PIN. After that, your card locks automatically every time you restart your device or remove the SIM card, and you’ll have to enter your PIN.
Important: When using cellular services through GSM networks, you need an eSIM or third-party SIM. When using cellular services through CDMA networks, you need a third-party SIM. Your iPad is subject to your wireless service provider’s policies, which may include restrictions on switching service providers and roaming, even after the conclusion of any required minimum service contract. Contact your wireless service provider for more details. The availability of cellular capabilities depends on the wireless network, your iPad model, and your location.
See also