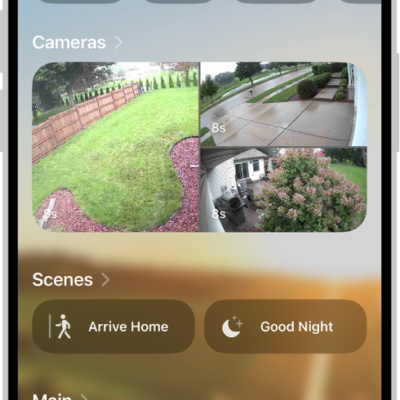
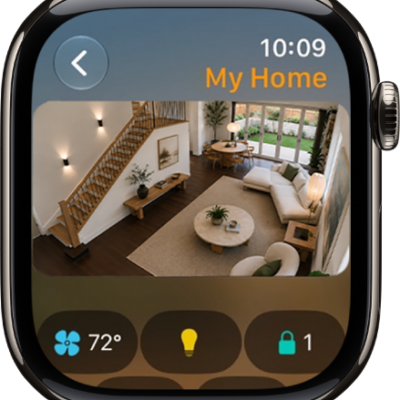
You can use the Home app to set up HomePod and control many HomePod settings.
You can send and receive Intercom messages, and choose when you can receive them and who is allowed to send them. use HomePod and HomeKit Secure Video to announce guests, and add and edit HomePod alarms and timers. You can also change HomePod settings right from Home.
Here’s how to set up HomePod in Home on iPhone.
Note: HomePod is not available in all countries or regions.
Use Home to send and receive Intercom messages
- Open the Home app on your iPhone.
- On the Home tab, tap the More button and then tap Home Settings.
- Tap Intercom, then configure these settings:
- When you can receive Intercom messages
- Who is allowed to send or receive Intercom messages
- Which HomePod speakers can use Intercom
Note: Any member of the Home can choose when they receive Intercom messages. Only a home owner or admin can choose who can send or receive Intercom messages and which HomePod speakers can use Intercom.
- Tap Back, then tap Done.
- Tap the Intercom button, say something like “Who ate the last cookie?” then tap Done.
Intercom messages reach all the HomePod speakers in your home, as well as the iOS, iPadOS, and watchOS devices of home members who can send and receive Intercom messages.
Use HomePod and HomeKit Secure Video to announce guests
When someone you know is at the door, HomePod can notify you with a HomeKit Secure Video camera or doorbell, and it can send you a message if the person isn’t recognized.
Note: To start announcing guests, first turn on Face Recognition.
- Open the Home app on your iPhone.
- On the Home tab, tap the More button and then tap Home Settings.
- Tap Cameras & Doorbells and then tap your camera or doorbell.
- Tap Doorbell Chime and then choose which HomePod speaker or speakers to enable.
Use Home to add and edit HomePod alarms and timers
- Open the Home app on your iPhone.
- Tap the right side of a HomePod tile, swipe up, and do any of the following:
- Add an alarm: Tap New Alarm, create the alarm, then tap Done.
- Edit an alarm: Tap the alarm, change the time, then tap Done.
- Turn alarms on or off: Tap the switch next to an alarm.
- Delete an alarm: Tap the alarm and tap Delete Alarm.
- Create a new timer: Tap New Timer, enter a timer label (optional) and choose the length of the timer. Tap Start.
- Pause and restart a timer: Tap the Pause button; tap the Play button to restart the timer.
- Remove a timer: Tap the Delete button.
Change HomePod settings
Two HomePod speakers of the same kind in the same room can become a stereo pair, and you can also assign HomePod to a different room, add an automation, and more.
- Open the Home app on your iPhone.
- Tap the right side of a HomePod tile.
- Tap the Settings button and then configure HomePod settings.
Use HomePod to listen for alarm sounds
If an alarm sound is detected in your home, HomePod can let you know.
- Open the Home app on your iPhone.
- Tap the right side of a HomePod tile.
- Tap the Settings button, then tap Sound Recognition.
- Turn on Smoke & CO Alarm, then choose which HomePods will listen for alarms.
Your HomePod listens for certain sounds and notifies you when alarm sounds may be recognized.
Important: Sound Recognition may detect smoke and carbon monoxide alarm sounds and send you notifications when recognized. Sound Recognition should not be relied upon in circumstances where you may be harmed or injured, or in high-risk or emergency situations.
Add a Siri-enabled accessory
By enabling Siri on compatible Apple Home accessories, you can extend access to HomePod throughout your home. With Siri on, you can play your favorite music and podcasts, get help with everyday questions or tasks, and control those accessories with your voice.