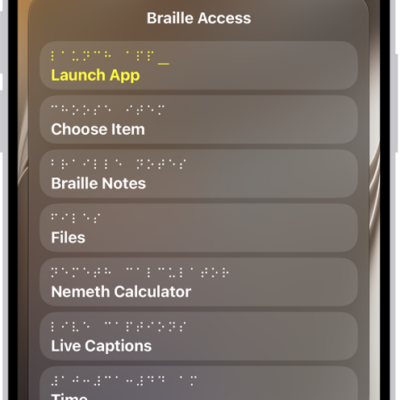
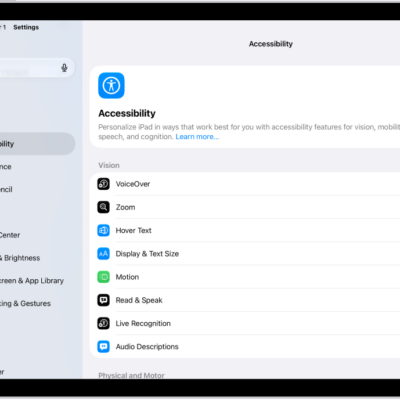
With Braille Access, you can turn your iPad into a braille notetaker that can easily open any app by typing with a connected braille display. You can perform calculations, open Braille Ready Format (BRF) files, transcribe conversations with Live Captions, and more.
Braille Access works with a connected braille display and VoiceOver turned on. Braille commands let you move to the next or previous item, go back to the previous screen, open a context menu, search for text, and launch apps such as Mail, News, or Wallet.
Note: Live Captions is available on supported models. Live Captions isn’t available in all countries or regions. The accuracy of Live Captions may vary and shouldn’t be relied upon in high-risk or emergency situations.
- Connect your braille display to your iPad. Turn on VoiceOver. See connect a braille display and turn VoiceOver on or off.
-
Press dots 7 and 8 together or use the Toggle Braille Access command on your braille display.
If you’re using an eight-dot table, press dots 7 and 8 and the Space bar together.
To access the Toggle Braille Access command on your iPad, go to the Settings app > Accessibility > VoiceOver > Braille > tap the information button next to your braille display (you may need to scroll down) > Braille Commands > Braille > Toggle Braille Access.
-
Do any of the following:
- Next item or line: Use the Next command (dot 4 + Space bar) or use the panning button on your braille display.
- Previous item or line: Use the Previous command (dot 1 + Space bar) or use the panning button on your braille display.
- Go to the first item on the menu: Use the First Item command (dots 1, 2, 3 + Space bar).
- Go to the last item on the menu: Use the Last Item command (dots 4, 5, 6 + Space bar).
- Go to the previous screen: Use the Back command (dots 1, 2, + Space bar).
- Select a menu item: Use the Return command (dot 8).
- Open a context menu: Use the Delete command (dot 7).
- Search for text: Use the Search command (dots 1, 2, 4 + Space bar).
- Exit Braille Access: Press dots 7 + 8.
Use Braille Access with a braille display
- Connect your braille display to your iPad and turn on VoiceOver. See connect a braille display and turn VoiceOver on or off.
-
Press dots 7 and 8 together or use the Toggle Braille Access command on your braille display.
If you’re using an eight-dot table, press dots 7 and 8 and the Space bar together.
To access the Toggle Braille Access command on your iPad, go to the Settings app > Accessibility > VoiceOver > Braille > tap the information button next to your braille display (you may need to scroll down) > Braille Commands > Braille > Toggle Braille Access.
-
Do any of the following:
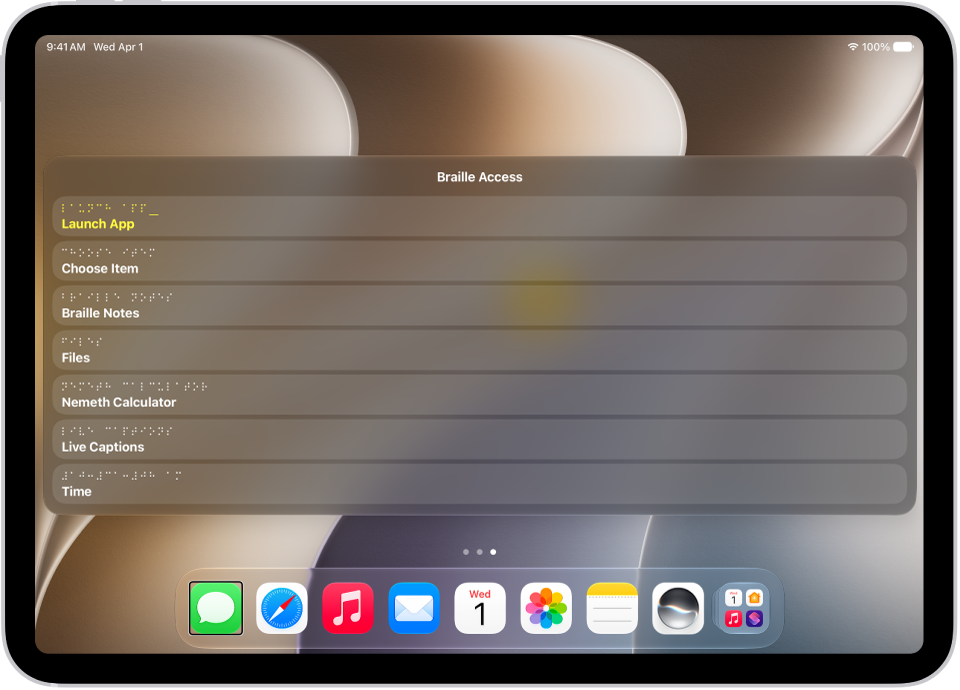
- Launch App: Choose an app to open—such as Mail, News, or Wallet.
- Choose Item: Choose an item to open on the screen—such as dictate, compose, or edit.
-
Braille Notes: Enter New > New Note or New Folder to create a new note or folder. You can access your notes here after you create them.
Note: Your braille notes will sync to iCloud.
-
BRF Files: Enter New > File name or New folder name to create a new BRF file or folder. You can open your BRF files here after you create them. You can also search for text and add bookmarks that sync with iCloud.
- To search for text, use the context menu or Text Search command (dots 1, 2, 4 + Space).
- After you search for text or move a bookmark, use the Return command (dot 8) to keep searching or moving to other bookmarks.
Note: Opening Braille Access creates a BRF Files folder in iCloud Drive. You can’t change the location of BRF Files in iCloud.
-
Calculator: Use Nemeth or UEB Math to type calculations.
Note: A visual representation of the formula appears on the screen if Show Visuals is enabled.
-
Live Captions: Enter Live Captions and iPad listens to your surroundings and transcribes what it hears in braille on your device.
New transcriptions you haven’t read appear surrounded by full cells (dots 1, 2, 3, 4, 5, 6, 7, 8) on your braille display.
Note: Press any router key to bring the focus to the latest caption line.
- Time: Check the current time on your iPad.
-
Close: Close the Braille Access menu.
Note: In most pages of Braille Access, you can select Close or Back at the bottom of the menu. See Exit Braille Access.
A cursor at the end of the menu item means you can start typing right away.
Manage Braille Notes, BRF files, and Live Captions with Context Menus
Once you’ve created Braille Notes and BRF files in Braille Access, Context Menus let you organize them. Live Captions also lets you pause and listen to audio. The steps for creating notes, folders, and BRF files are in Use Braille Access with a braille display.
- Connect your braille display to your iPad. Turn on VoiceOver. See connect a braille display and turn VoiceOver on or off.
-
Press dots 7 and 8 together or use the Toggle Braille Access command on your braille display.
If you’re using an eight-dot table, press dots 7 and 8 and the Space bar together.
To access the Toggle Braille Access command on your iPad, go to the Settings app > Accessibility > VoiceOver > Braille > tap the information button next to your braille display (you may need to scroll down) > Braille Commands > Braille > Toggle Braille Access.
-
Do any of the following:
-
Braille Notes: Go to a note or folder and open the Context Menu by using the Delete command (dot 7). Do any of the following:
- Move: Move the note or folder to a new location.
- Delete: Delete the note or folder.
- Pin: Pin the note or folder for easier access.
-
BRF Files: Go to a BRF file and then open the Context Menu by using the Delete command (dot 7). Do any of the following:
- Find: Find a specific BRF file.
- Previous Find: View your previous Find searches.
- Add Bookmark: Add a bookmark for easier access.
- Move: Move the file to a new location.
- Delete: Delete the file.
- Rename: Rename the file.
-
Live Captions: Open Live Captions and open the Context Menu by using the Delete command (dot 7). Do any of the following:
- Pause: Pause Live Captions.
- Listen to audio: Listen to audio descriptions of your surroundings.
- Type to speak: Type on your braille device to have iPad speak it aloud.
-
Summarize with Apple Intelligence: With Apple Intelligence, you can get a summary of the audio in your surroundings.
Note: Apple Intelligence on iPadOS 27 or later is available on an Apple Intelligence-enabled iPad mini (A17 Pro) and iPad models with M1 or later. Apple Intelligence is not available in all languages or regions. Usage limits may apply.*
-
Braille Notes: Go to a note or folder and open the Context Menu by using the Delete command (dot 7). Do any of the following:
Exit Braille Access
When Braille Access is open on your iPad and you’d like to exit, do any of the following:
- Use the Home or Back command on your braille display.
- Press dots 7 and 8 together on your braille display.
- Select Close or Back at the bottom of the menu to exit Braille Access.
Change Braille Access settings
- Open the Settings app on your iPad.
- Tap Accessibility, tap VoiceOver, tap Braille, and then tap Braille Access.
- Do any of the following:
- Main Menu Items: To customize which menu items appear in Braille Access, tap an item. To change the order that the items appear in, tap and drag the reorder button to the desired place.
- Open to Last Position: Turn on Open to Last Position to allow previous settings to appear when Braille Access is reopened.
- Speak List Items: To have iPad speak items aloud, turn on Speak List Items.
- Show Visuals: Turn Show Visuals on or off.
- Typing Speech Feedback: Turn Typing Speech feedback on or off.
- Braille Notes: Sort notes by the date edited or created. You can also sort the order of notes by oldest or newest.
- BRF Files: Turn Fit BRF Content on or off. Turn Hide BRF Page Indicators on or off.
- Calculator: Choose Nemeth or UEB Math as the math code.
- Live Captions: Choose Microphone or Audio as the source for Live Captions.
*Apple Intelligence is available with Siri and device language set to Chinese (Simplified), Chinese (Traditional), Danish, Dutch, English, French, German, Italian, Japanese, Korean, Norwegian, Portuguese, Spanish, Swedish, Turkish, or Vietnamese. Some features may not be available in all regions or languages. Some devices may not be available in all regions. Siri AI is available in beta in iOS 27, iPadOS 27, macOS 27, watchOS 27, and visionOS 27 and requires an Apple Intelligence–enabled device set to a supported language. Available in English to start. Siri AI will not be initially available in the EU on iOS, iPadOS, and watchOS. Certain Apple Intelligence features that rely on server-side models are subject to daily usage limits, including but not limited to Siri AI, Intelligent Photo Editing Tools, Image Playground, and AFM 3 Cloud models in Shortcuts. Daily limits may vary by feature, request complexity, system demand, system policies, and other factors. Expanded access to such features will be available for a fee in the future. Use of these features is subject to the Apple Intelligence Terms and Conditions.
See also
- Accessibility features for hearing on iPad
- Accessibility features for vision on iPad
- Use a braille display with VoiceOver on iPad
- Type braille directly on the iPad screen with VoiceOver