You can make a screen recording to capture what’s happening on your iPad screen and save it as a video. You can even turn on the microphone to add audio.
Recording starts after a 3-second countdown, and your screen recordings are saved to your photo library automatically. The Screen Recording control is in Control Center, and you can review your screen recordings with your other media types in the Photos app.
Note: You can’t record your screen while using screen mirroring, and some apps might not allow you to record their content.
Record the iPad screen
-
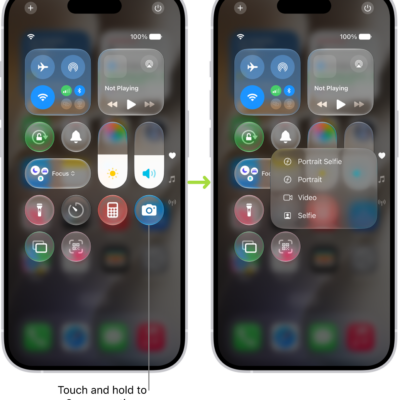
Swipe down from the top-right corner of the screen to open Control Center.
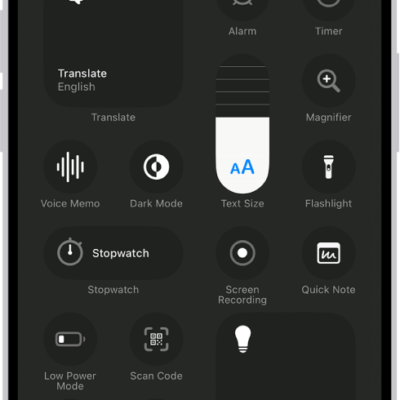
If you don’t see the Screen Recording control, add it to Control Center. See Customize controls.
- Tap the Screen Recording button and then wait for the 3-second countdown to start recording.
- Swipe up to dismiss Control Center and then perform the action you want to record.
- To stop recording, tap the red button at the top of the screen and tap Stop.
Take a screen recording with audio
- Swipe down from the top-right corner of the screen to open Control Center.
- Touch and hold the Screen Recording button, tap Microphone to turn it on, and tap Start Recording.
- Wait for the 3-second countdown, then start recording.
Note: Some apps might not let you record their content. Also, you can’t record your screen and use screen mirroring together.
Review your screen recordings
Screen recordings are automatically saved to your photo library.
- Open the Photos app on your iPad.
- Tap Collections, scroll down to Media Types, and then tap Screen Recordings.
See also
- Take a screenshot on iPad
- Change the screen capture settings on iPad
- Trim video length, adjust speed, and edit audio on iPad