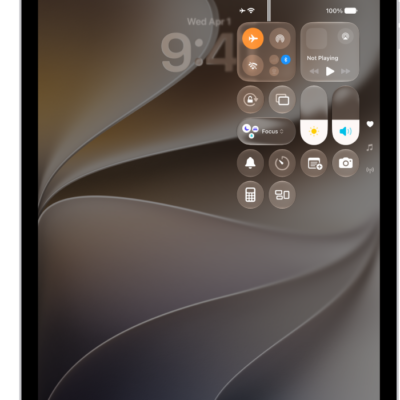
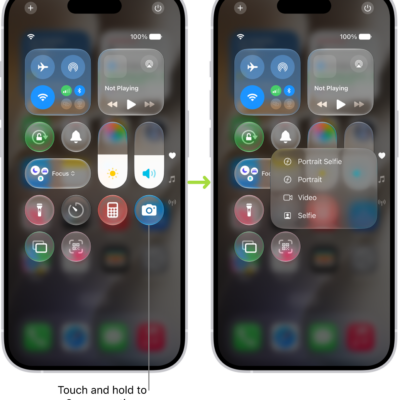
You can control the settings for capturing audio and video in apps and websites—for example, during a videoconference—to maximize the quality of your recording.
An input source for recording audio can be set for a specific app or website, or for your device. Voice Isolation reduces background noise so your voice comes through clearly, while Wide Spectrum keeps all the surrounding sounds. After the call, your recording is saved in the Files app by default.
Here’s how to improve audio and record video calls on iPad.
Select an audio input source
You can choose an input source for recording audio in a specific app or website or for your device.
- Open the app or go to the website you want to record from.
- Open Control Center.
- Tap the button for your app or browser at the top of Control Center.
-
Tap Input and then select an input device.
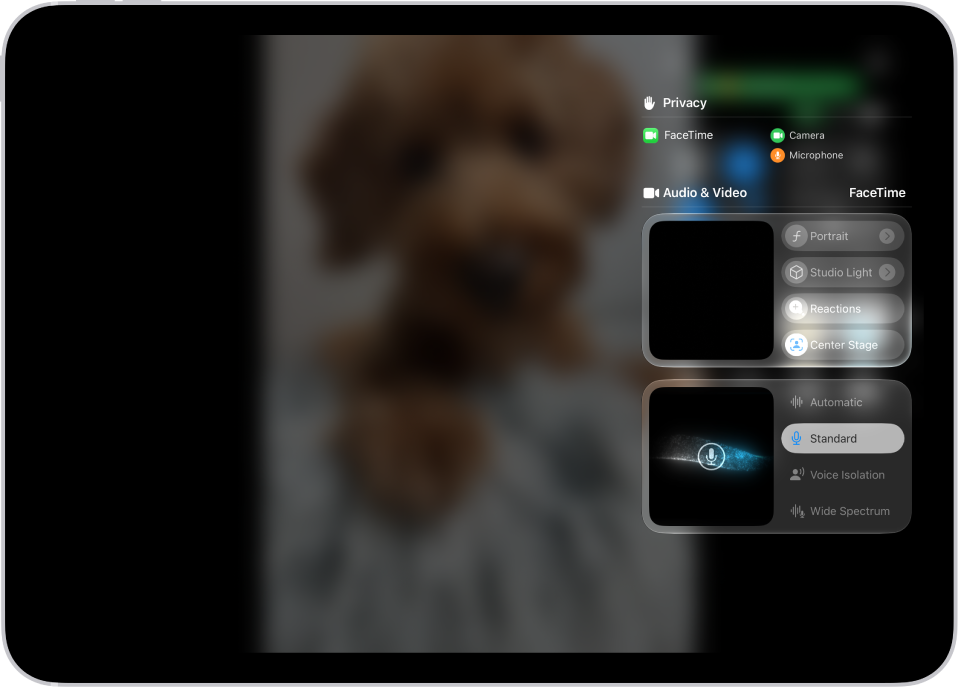
Filter out background sounds with Voice Isolation
To make your voice come through clearly, Voice Isolation reduces background noise. Wide Spectrum keeps all surrounding sounds, which helps in music or group settings.
- Open the app or go to the website you want to record from.
- Open Control Center.
- Tap the button for your app or browser at the top of Control Center.
- Tap Voice Isolation.
To include the background sounds in your recording, tap Wide Spectrum, if it’s available. (Wide Spectrum isn’t available for all apps.)
After the call, your recording is saved by default in the Downloads folder in the Files app, unless you specify another location. Tap the Share button to share it with other call participants. It can be combined with other participants’ recordings in a post-production app such as Logic Pro or Final Cut Pro.
Record audio and video with Local Capture
Local Capture saves high-quality audio and video recordings directly to your iPad. Voice Isolation and Wide Spectrum don’t affect a Local Capture recording, but you can edit it afterward to adjust the sound.
Local Capture records audio and video by default, but if another app is using your camera, it records only audio.
- Open the videoconferencing app you want to record from.
- Open Control Center.
-
Touch and hold the Local Capture button.
Note: If you don’t see the Local Capture button, add it to Control Center first. See Use and customize Control Center.
-
Tap Start Recording.
Note: Depending on your audio input source, you can adjust the input gain by dragging the slider (if one appears onscreen). The input gain slider allows you to attenuate the incoming volume when you use an external USB microphone.
To exclude video from your recording, select Audio Only in Control Center.
Note: While you’re recording with Local Capture, you can use Voice Isolation to filter out background noise during the live session, though not in the recording itself. However, you can fix this by editing the recording after the live session, filtering out background sounds.
After the call, your recording is automatically saved in the Downloads folder in the Files app, unless you specify a different location for saving Local Capture recordings. Tap the Share button to share the recording with other call participants. It can be combined with other participants’ recordings in a post-production app (such as Logic Pro or Final Cut Pro).
Choose where Local Capture recordings are saved
You can specify a location for saving Local Capture recordings other than the default Downloads folder in the Files app.
- Open the Settings app on your iPad.
- Tap General and then tap Local Capture.
- Tap Save Location and then go to the folder where you want to save your Local Capture recordings.
- Tap the folder where you want the recordings saved and then tap Open.
Use AirPods to record audio and capture video from a distance
With supported models of AirPods and AirPods Pro, you can use your AirPods to remotely record audio and video during a videoconference. To start and stop recording, press the AirPods stem.
See also