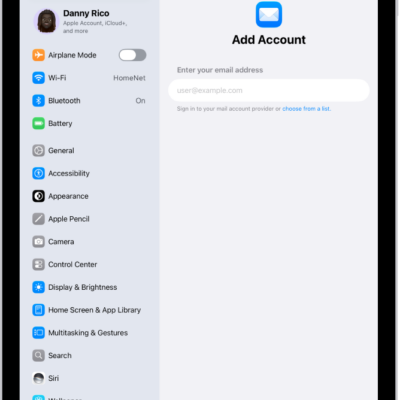
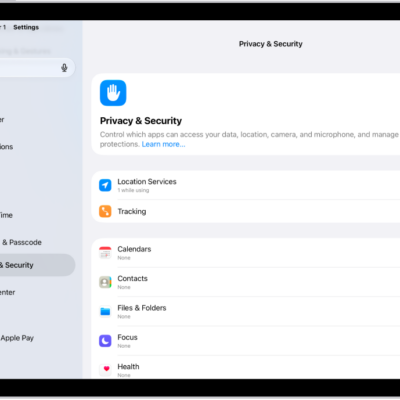
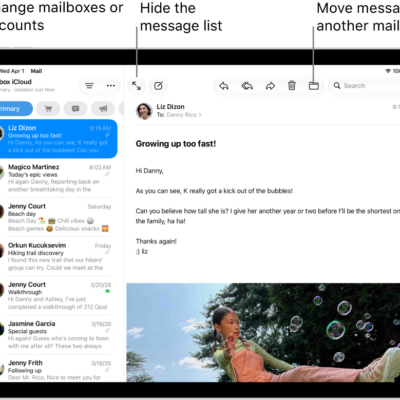
To send and receive email using the Mail app, you need to add the email accounts you want to use. When you first open Mail, you’re asked to set up an account. At any time, you can add more email accounts to your iPad, or remove accounts you no longer need.
You can also set a fetch schedule for an account, or temporarily stop using one.
Here’s how to add and remove email accounts on iPad.
Add an email account
To get all your email in one place, add one or more email accounts to the Mail app. Then you can send email from any of those accounts with ease.
- Start the Settings app on your iPad.
- Tap Apps and then tap Mail.
- Tap Mail Accounts, then tap Add Account.
- Enter your email address, tap Next, and enter your email account information.
Note: With multiple accounts set up, you can choose which one to send from while composing your email message. For how it works, read our article, Send an email from a different account.
Set a fetch schedule for your email account
For an account that doesn’t support Push notifications, set a schedule to check that account for new emails.
- Start the Settings app on your iPad.
- Tap Apps and then tap Mail.
- Tap Mail Accounts and then tap Fetch New Data.
-
Under Fetch, choose a schedule.
Automatically is the default selection, which means new data is downloaded when your iPad is charging and connected to Wi-Fi. To fetch more often outside of these conditions, choose a timed schedule.
Temporarily stop using an email account
Turning off an account in Settings temporarily stops sending and receiving email from it on your iPad. It’s easy to turn it back on at any time.
- Start the Settings app on your iPad.
- Tap Apps and then tap Mail.
- Tap Mail Accounts and tap the email account you want to turn off.
- Do one of the following:
- Turn off an iCloud email account: Turn off Use on this iPad.
- Turn off another email account: Turn off Mail.
Quick tip: Focus filters let you get notifications only from specific email accounts during times you choose. You could silence your work email account’s notifications on the weekends or while you’re on vacation, for example. To set one up, check out our guide, Set up a Focus on iPad.
Delete an email account
If you remove an email account, it disappears from both the Mail app and all the apps on your iPad that use it.
Note: This only removes the email account from your iPad. It doesn’t cancel it, so to close the account completely, visit your email account provider.
- Start the Settings app on your iPad.
- Tap Apps and then tap Mail.
- Tap Mail Accounts. Tap the email account you want to remove.
-
Tap Sign Out or Delete Account.
Note: If you change your mind later, you can add the email account back to your iPad. Follow the steps in Add an email account.
Add the Mail app back to your Home Screen
The Mail app may not be on your Home Screen, but you can find it in the App Library and add it back.
- On the Home Screen, swipe left until you see the App Library.
- Enter “Mail” in the search field.
- Touch and hold the Mail app icon. Tap Add to Home Screen.
To get your Home Screen just right, check out our article, Move apps and widgets around.
See also
- Check your email in Mail on iPad
- Send email in Mail on iPad
- Set up a custom email domain with iCloud Mail on iPad