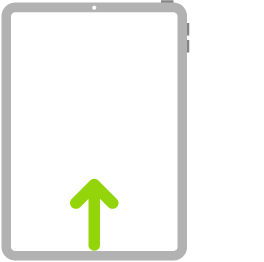
iPad has an easy setup process to help you get going when you first turn on your device. Whether you’re just getting started or want to make sure you have the basics set up, you’re in the right place.
When you begin, you can wirelessly transfer many of your apps, settings, and content to your new iPad. You can also connect to Wi-Fi, set up cellular service, and sign in to your Apple Account to access Apple services such as the App Store, Apple Music, FaceTime, and iCloud.
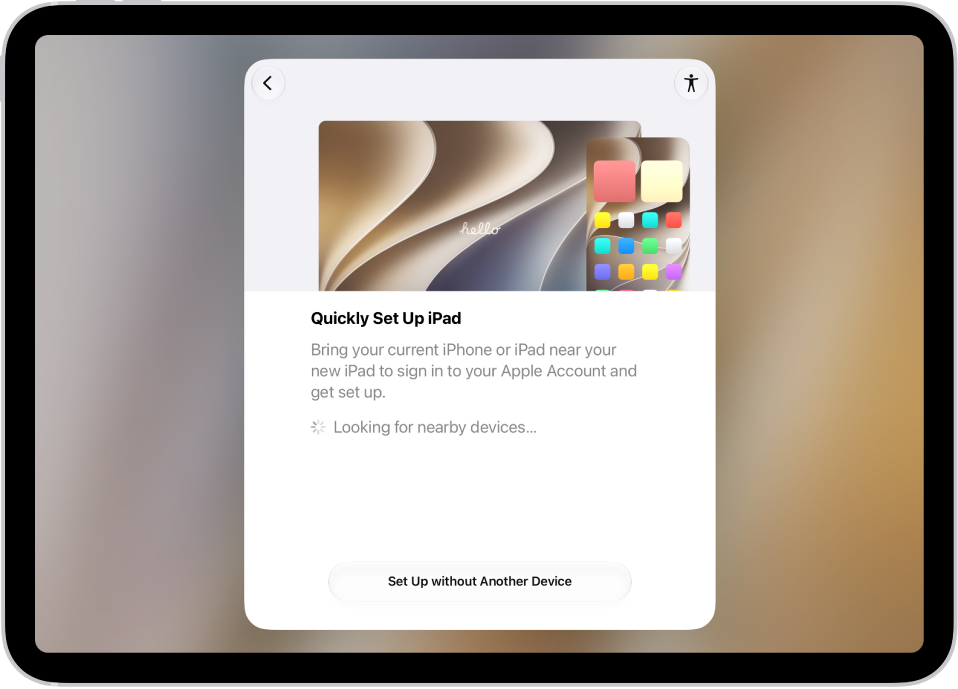
Transfer your apps and info onto your new iPad
When you first turn on your new iPad and begin the setup process, many of your apps, settings, and content can transfer wirelessly from your previous iPad straight to this iPad. Just bring the two devices close together and follow the onscreen instructions.
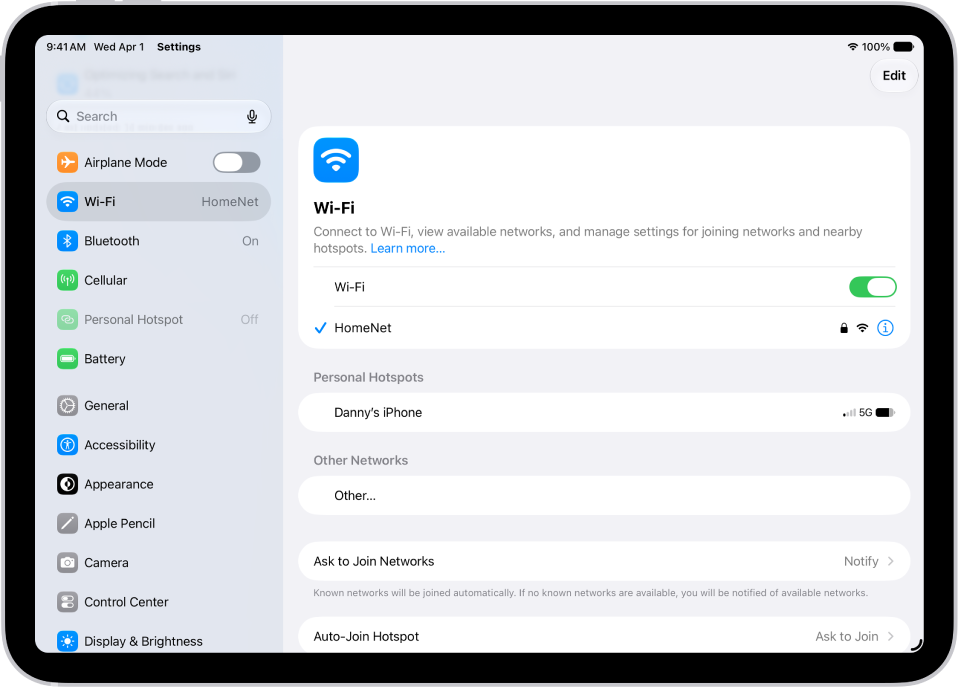
Connect to Wi-Fi and set up cellular service
To connect your iPad to your home Wi-Fi network, go to the Settings app, tap Wi-Fi, turn on Wi-Fi, then choose your network. iPad automatically connects to your Wi-Fi network whenever you’re home.
To use an eSIM to connect your iPad with Wi-Fi + Cellular to your cellular network, go to the Settings app, then tap Cellular Data. Or on supported iPad models, install a nano-SIM provided by your carrier.
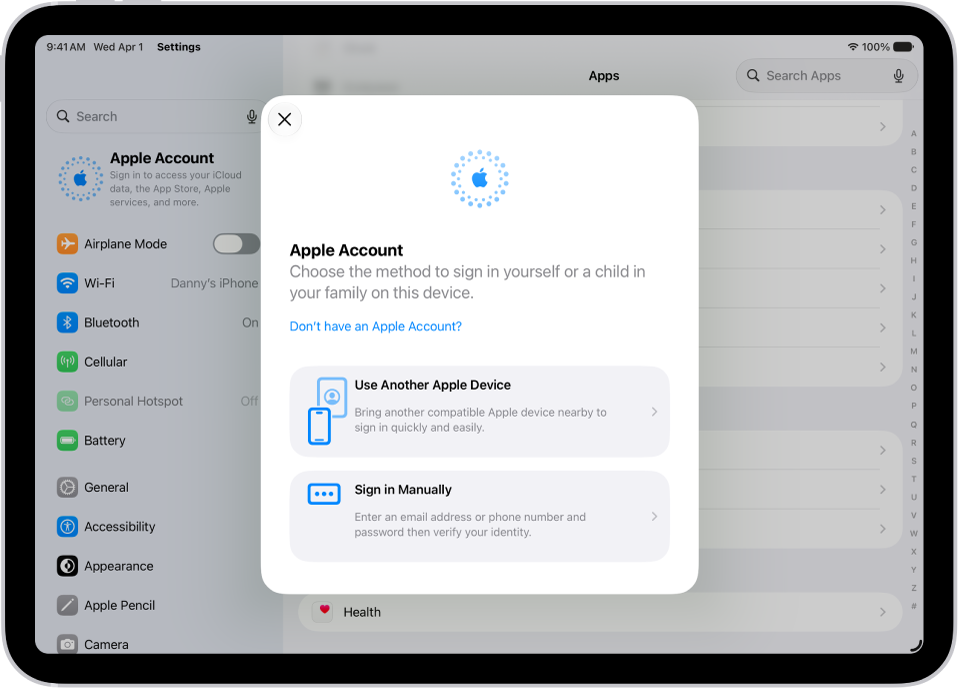
Sign in to your Apple Account
Your Apple Account gives you access to Apple services like iCloud, FaceTime, iMessage, the App Store, the iTunes Store, Apple Books, Apple Music, and more.
To sign in to your Apple Account, go to the Settings app, then tap Apple Account.
With a signed-in iPhone running iOS 17 or later or another iPad running iPadOS 17 or later, you can simply bring your iPad near your other device. If not, you’ll sign in manually.
To verify that you’re signed in, go to the Settings app, then tap your name. Your Apple Account appears below your name.
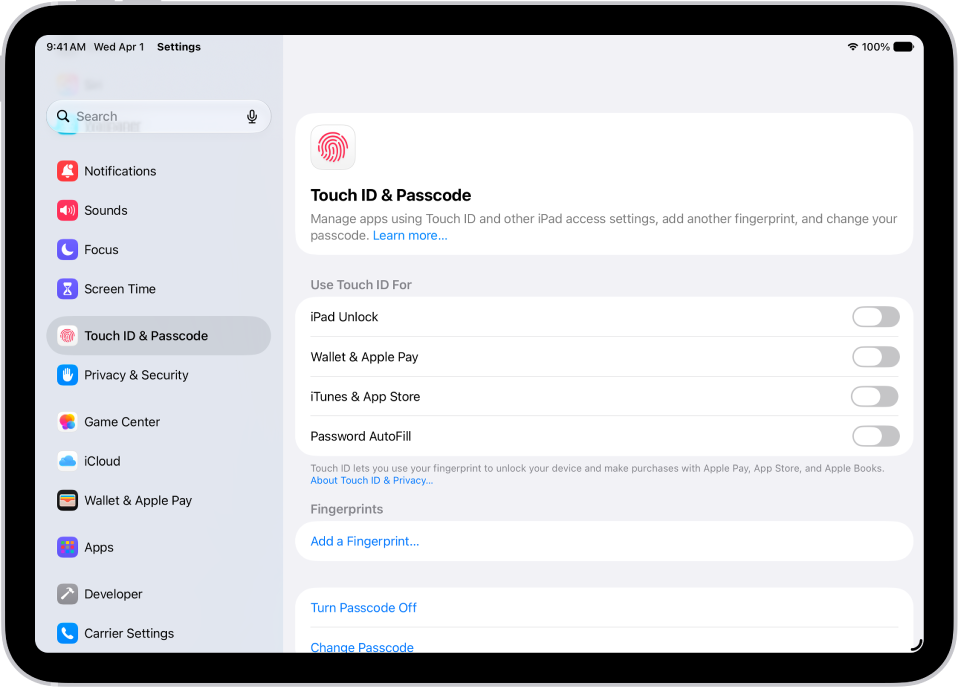
Set up Face ID or Touch ID
Face ID, which uses face recognition, or Touch ID, which uses your fingerprint, lets you securely unlock your iPad, make purchases, and sign in to many apps. Face ID and Touch ID data never leaves your device, for your security, and it isn’t saved anywhere else.
Do one of the following, based on your iPad model:
- Set up Face ID: Go to the Settings app, tap Face ID & Passcode, tap Set up Face ID, then follow the onscreen instructions.
- Set up Touch ID: Go to the Settings app, tap Touch ID & Passcode, tap Add a Fingerprint, then follow the onscreen instructions.
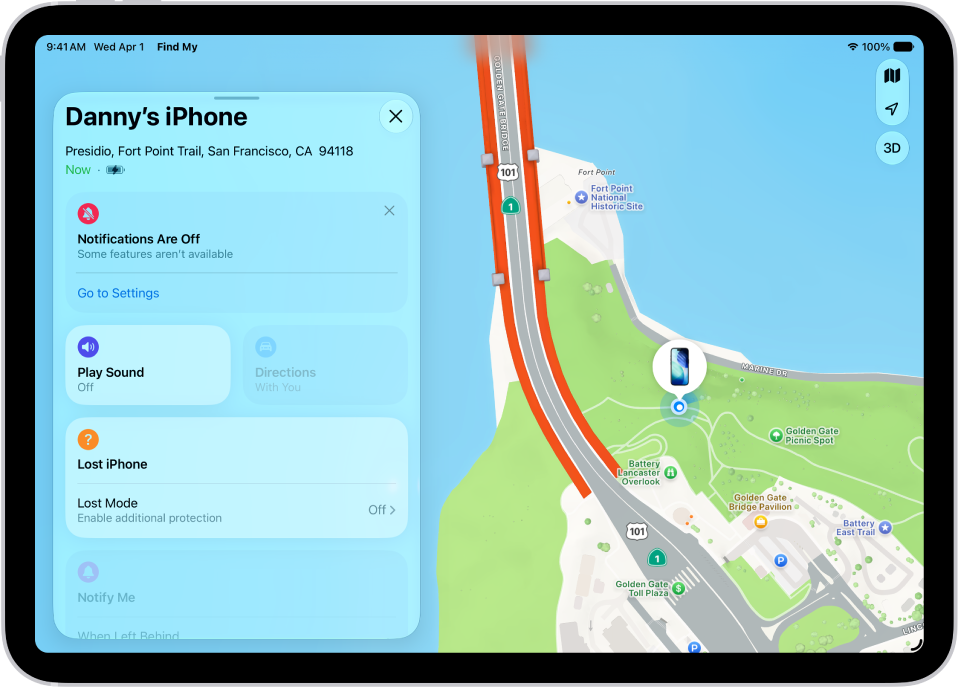
Turn on Find My iPad
Turning on Find My iPad means you can locate your iPad if it’s ever lost or stolen.
Go to the Settings app, tap your name, tap Find My, tap Find My iPad, then turn on Find My iPad.
To be notified when you leave your iPad behind, go to the Find My app, tap the name of your iPad, then tap When Left Behind. You can also see the location of your devices on the Find Devices website.
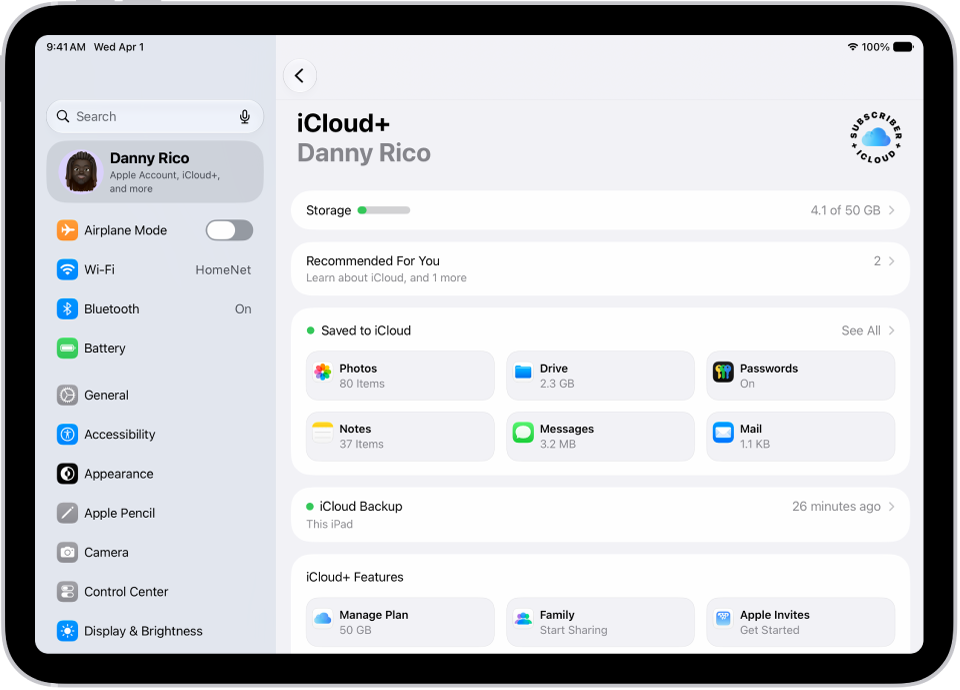
Store your data in iCloud
Your photos, videos, and more remain secure in iCloud if your iPad is ever replaced, lost, damaged, or stolen, since iCloud keeps your important info safe and synced across your devices.
To turn on or change the features you want to use with iCloud, go to the Settings app, tap your name, then tap iCloud.
For more help getting set up, see these guides:
- Turn on and set up iPad
- Set up cellular service on iPad
- Connect iPad to the internet
- Set up Face ID on iPad
- Set up Touch ID on iPad
- Locate a device in Find My
- Use iCloud on iPad
The availability of features, Apple says, may vary depending on your iPad model and country or region.