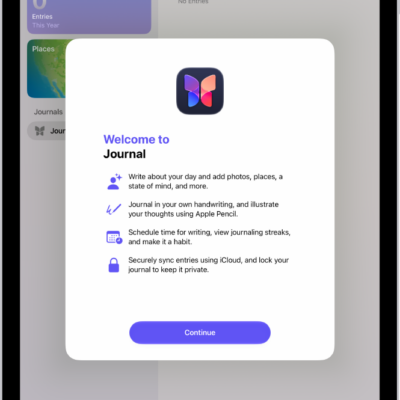
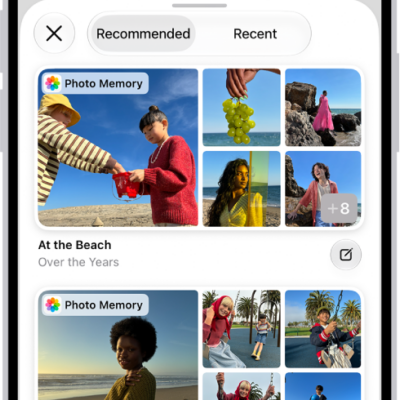
In the Journal app, you can create multimedia entries by adding photos, drawings, videos, audio, and more.
You can format the entry text, add a map location, and place a drawing inline with text, then resize and rearrange it. Photos and videos can go in the grid or inline with text, too, and you can adjust the color and style of the text.
Here’s how to add formatting, photos, and more in Journal on iPad.
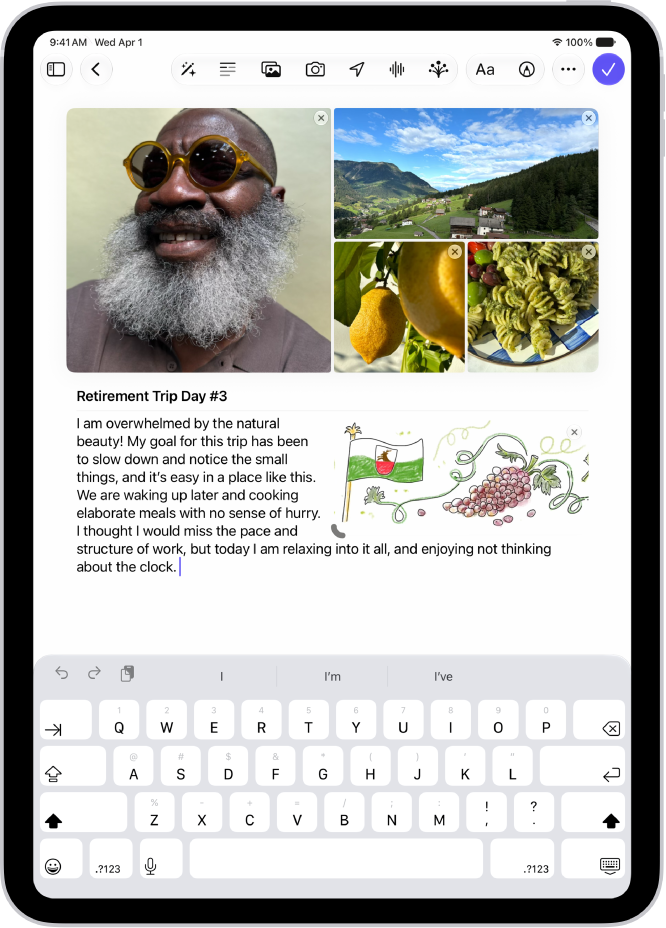
Format text
You can adjust the color, style, formatting of the entry text.
- Open the Journal app on your iPad.
- While composing an entry, tap the Format button.
- Apply bold text, italics, underline, strikethrough, bulleted or numbered lists, block quote, or font color.
Add a drawing
- Open the Journal app on your iPad.
-
While composing an entry, tap the Add Drawing button and then start drawing.
Tip: To place a drawing inline with text, touch and hold where you want the drawing to go, then choose Insert Drawing.
-
To see other tools, such as Crayon, Reed Pen, or Watercolor Brush, swipe through the toolbar. Tap the one you want.
Tap any tool a second time to change its qualities, like the thickness or opacity of a stroke.
-
When you’re finished drawing, tap the Add Drawing button.
You can resize and rearrange inline drawings. To resize, drag the handle on the bottom left. To rearrange, touch and hold the drawing, then drag it to a new location.
Add photos or videos to the grid or inline with text
- Open the Journal app on your iPad.
-
While composing an entry, do any of the following:
-
Choose photos and videos from your library: Tap the Choose Photo or Video button.
If you don’t see the Choose Photo or Video button, tap the More button, then tap Choose Photo or Video.
-
Take a new photo or video: Tap the Take a Photo or Video button.
If you don’t see the Take a Photo or Video button, tap the More button, then tap Take Photo or Video.
-
Choose photos and videos from your library: Tap the Choose Photo or Video button.
-
To place photos and videos inline with entry text, touch and hold the photo or video and then drag it from the grid to the entry.
You can resize inline media by dragging the handle on the frame.
Add a map location
- Open the Journal app on your iPad.
-
While composing an entry, tap the Locations button.
If you don’t see the Locations button, tap the More button, then tap Locations.
When you add a location, the entry is visible in Places.
Work with attachments
All attachments—photos, drawings, videos, locations, recordings, and State of Mind tiles—can be reordered, placed inline with entry text, and more.
- Open the Journal app on your iPad.
- While composing an entry, do any of the following:
- Place attachments inline with text: Touch and hold the attachment and drag it from the grid to the entry.
- Resize inline attachments: Drag the handle on the frame.
- Move inline attachments to the grid: Touch and hold the attachment, then drag it up to the grid.
- View an attachment in full screen: Tap the thumbnail.
- Reorder attachments: Touch and hold a thumbnail, then drag it to a different position.
- Remove an attachment: Tap the Delete button in the top-right corner of the thumbnail.
Record and transcribe audio
Record audio in a journal entry and have your words transcribed. This works in English only (excluding Singapore and India locales).
- Open the Journal app on your iPad.
-
While composing an entry, tap the Record Audio button.
If you don’t see the Record Audio button, tap the More button, then tap Record Audio.
- Tap the Record button, then start speaking.
- When you’re done, tap the Pause button, then tap Done.
- Tap the audio recording, then tap the Transcription button to review the transcription.
- To add the text to the entry, tap the More button and tap Add Transcript to Entry.
See also