Apple tends to release operating system changes as a two-beat sequence, like our heart going LUB-dub: The LUB beat is a major flex, like the introduction of Liquid Glass across all their operating systems in 2025. This year is a “dub,” a building-or-rebuilding year, in which Apple largely tweaks the previous cycle and offers incremental improvements, though some may feel quite large.
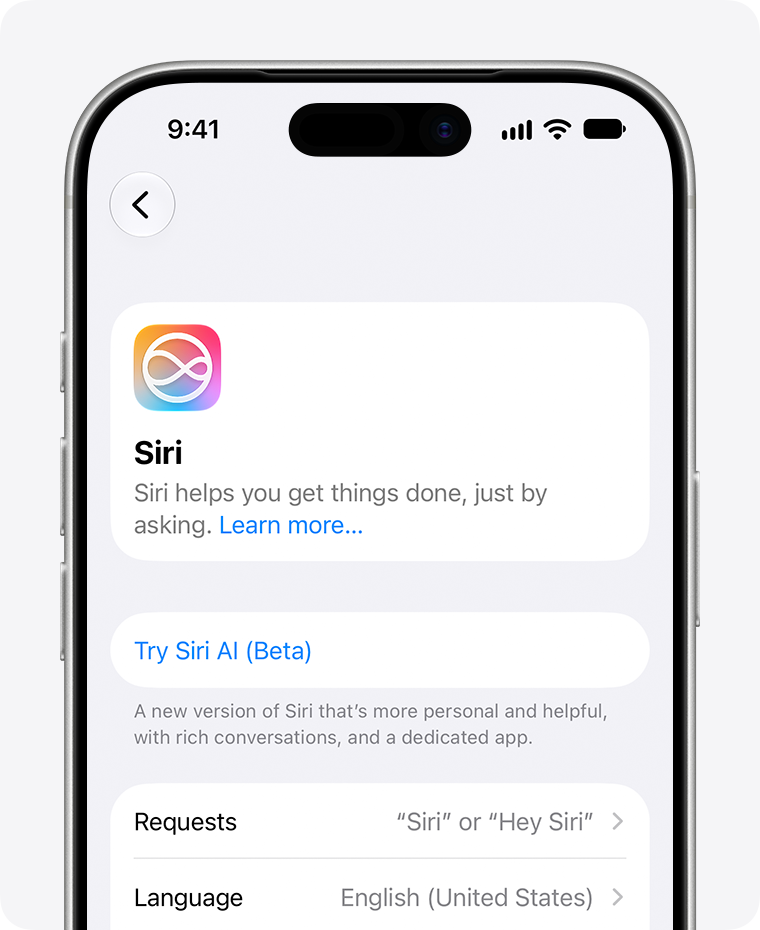
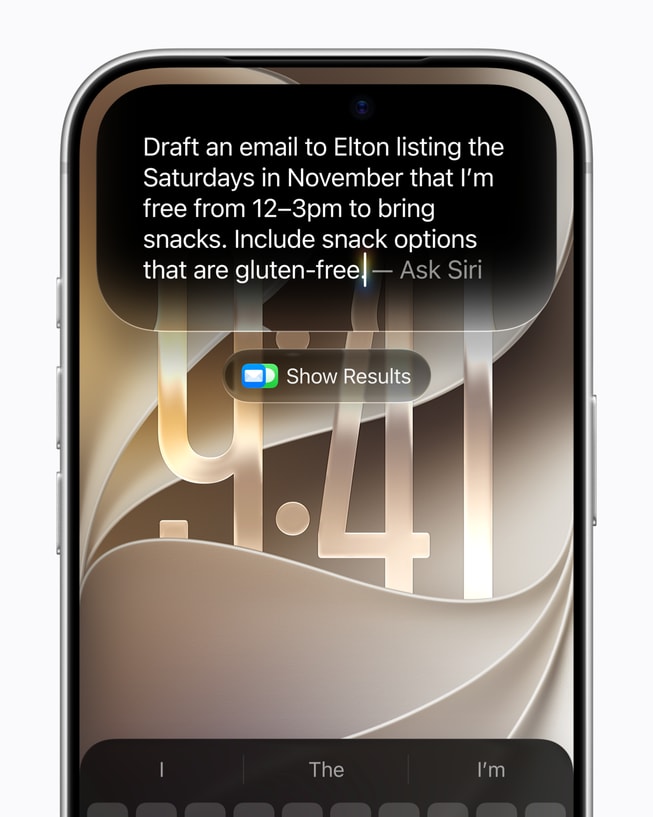
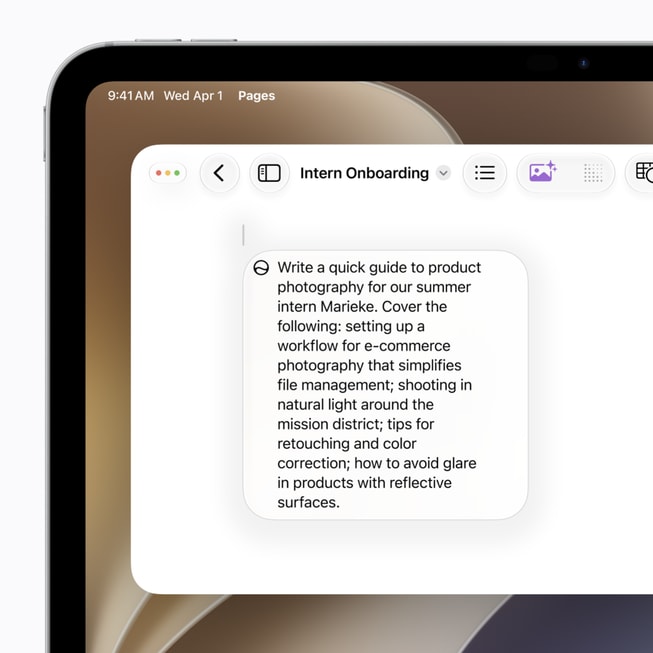
The flagship feature of the 2026 releases is Siri AI, and Apple Intelligence extending more deeply into apps and system functions. But Apple named four other areas of focus alongside it, and three of them have nothing to do with AI at all: interface tweaks, child safety and Screen Time, and communications.
Here are 37 changes in iOS 27 and iPadOS 27 that have nothing to do with Siri AI or Apple Intelligence. For the release as a whole, including what the AI features actually do, see what’s new in iOS 27.
iOS 27 non-AI features:
1. The Liquid Glass slider, most visible of these features
The introduction of Liquid Glass across Apple’s 26 releases of their operating systems elicited a lot of responses. A whole lot. It’s hard to know how hated this new interface approach was, but given how quickly Apple backed off from it, I would have to say a lot—particularly in iOS and iPadOS, where the translucency of Liquid Glass made it hard to find interface elements and read text.
Apple reacted by adding a feature in iOS 26.1/iPadOS 26.1 to reduce its impact by letting you switch between Clear, which was the original flavor of Liquid Glass, to Tinted, which reduced translucency by a fair amount, but not to zero.
In iOS 27/iPadOS 27, Apple switched up their approach, replacing the binary option with a slider from (now lowercase) clear to tinted, along with a preview of how it looks against interface elements.
When you upgrade to iOS 27 or iPadOS 27, the last stages of the installation present a new screen that lets you choose to adjust Liquid Glass using a slider. If you don’t make the adjustment at that moment, you can do so later, or change your initial choice. Go to Settings > Appearance > Liquid Glass.
This new screen offers a slider you can drag from the left edge, which Apple describes as “More Clear” (most Liquid Glass effect) across a range to the right: “More Tinted” (most opaque). Apple makes it easy to visualize by providing a scrollable preview that shows Liquid Glass elements overlaid on a webpage with images and text.
At the More Clear setting you can hardly read—or even find—a button or field over text and an image; at the midway point it’s better, but still not ideal; at More Tinted there is enough contrast for legibility. To me, it looks like what an interface designer would show an executive, expecting the executive to pick the most tinted option. Apple’s leadership didn’t do that for 26.0. In 26.1, we got a binary choice; in 27, a range of choices.
2. Turning Liquid Glass off almost entirely
Apple separately offers two Accessibility settings that affected Liquid Glass in iOS 26 and iPadOS 26. In the 27 releases, only one of the two has any real impact:
-
Reduce Transparency: Go to Settings > Accessibility > Display & Text Size and enable Reduce Transparency. This flattens Liquid Glass, removing transparency and providing an almost identical look to iOS 18/iPadOS 18. The level of Liquid Glass you have enabled doesn’t have an effect.
-
Increase Contrast: Use Settings > Accessibility > Display & Text Size > Increase Contrast to bump up the difference in tones. In iOS 27/iPadOS 27, the difference appears slight, where it was sharply distinct in the previous releases.
You can’t change the Liquid Glass intensity when either of the next two options is enabled. When you attempt to change the Liquid Glass setting, you’re told that Reduce Transparency and Increase Contrast must be disabled. You can tap Turn Off.
3. FaceTime uses both cameras
After many, many years of FaceTime supporting a single camera view on iPhone, you can now use the front and back cameras simultaneously. The proviso? You need an iPhone 17, iPhone 17 Pro, iPhone 17 Pro Max, or iPhone Air and iOS 27. The other person or people can see your dual-camera feed only if they have iOS 27, iPadOS 27, or macOS 27. (This builds off the dual-capture mode in the Camera app on those models introduced in iOS 26.)
To use the dual-camera mode, in an active FaceTime session (or before someone has joined), tap the Flip Camera button in the inset selfie view. This shows both cameras by default. You can then do something to change that.
4. Connectivity Assist drops weak Wi-Fi
Apple tried to tune up a key issue years ago with a feature they called Wi-Fi Assist: when you had a weak signal, there might be a better, higher-speed cellular connection available instead. Your device would then tap into the cell signal while the Wi-Fi signal was poor.
While Wi-Fi Assist helped, it didn’t solve the common problem you are certainly familiar with, when your iPhone won’t unclasp its Wi-Fi grasp as you walk out of one space—like your home or office—and there’s still a tendril of signal left.
Apple rebranded the feature as Connectivity Assist, and if you had Wi-Fi Assist enabled—it was by default—you’ll find the new feature already turned on in Settings > Wi-Fi.
I know how aggravating it is, because my house Wi-Fi barely reaches where we park our cars out front on the street. Whenever I try to pull up Maps for directions, I have to turn off Wi-Fi most days. Connectivity Assist promises to solve that precise issue.
5. AirDrop is five times faster
Also in both iOS 27 and iPadOS 27 is an AirDrop speed up. Apple says AirDrop transfers could be as much as five times faster.
6. Alarms get their own volume
It took this long for Apple to let you set the volume of alarms and timers hitting zero seconds separately from your ringtone volume. Go to Settings > Sounds & Haptics and, under Alarms and Timers, disable Match Ringtone Volume.
7. Four RCS fixes in Messages
Messages received a tune-up, not an overhaul. Most change are related to RCS, the industry-supported messaging protocol that Google uses in Android. The changes are:
- Outgoing messages show a send indicator so you can see progress on slower networks or with larger files.
- When you’re sending large photos or videos in a conversation that uses RCS (with Android users), this no longer slows down the typing part of the conversation.
- Reply threading now works with RCS messages.
- RCS messages also support a wider range of tapbacks and reactions.
Apple added support for end-to-end encryption over RCS between their ecosystem and Google’s as a beta release in iOS 26.5.
8. Find My gets custom durations
The native Find My app on all platforms has two changes related to duration or availability when you share your location with other people:
-
Previously, you could share your location for an hour, until the end of the day, or indefinitely. Now you can set a custom period of time.
-
If you’re sharing your location with someone, you can hide your location from your end until the next morning (at 4 a.m., and they’re not notified. They’re also not told when you resume sharing, or “unhide” your location. They simply see you with a “location unavailable” label.
9. Hiding your location without telling anyone
This is widely seen as another tool for people facing family or intimate-partner abuse to hide their whereabouts without an abuser knowing.
10. Keywords arrive in Photos on iPhone
It took many years, but you can finally apply keywords to media in the Photos app on an iPhone and iPad. Huzzah? (Keywords are a useful way to link images for searching and organization.) However, you can still only apply keywords to items one at a time, as opposed to singly or in selections of two or more on a Mac. To add keywords, tap the info button, then tap Add Keywords.
11. Show Selected in Photos
When you make a selection by tapping the Select button in the upper-right corner of any multiple-item view in Photos, a new Show Selected button appears at the bottom. Tap it, and it reveals just the items you chose. You can adjust the selection or view the images and videos in a carousel. Tap Deselect All to remove the current selection.
12. Two new Photos albums
Apple adds two new albums in Collections > Utilities. Captured by Me contains images or videos you created using any iPhone or iPad, such as via the Camera app or by taking a screenshot. The Identity Documents album uses machine learning (not Apple Intelligence) to collect scans or photos of personally identifying documents. (Identity Documents hasn’t yet appeared for me in iOS.)
13. Shared Albums finally upgrade
Apple hasn’t shaken up iCloud Shared Albums in several years, and it has notable omissions, such as the ability to share higher-resolution versions.
In iOS 27/iPadOS 27 (and on macOS 27 and at iCloud.com), you have access to several new features. However, you must first upgrade an album: select the album in Collections > Shared Albums, tap the More button, then tap Upgraded Shared Album. This may take some time—minutes or longer—depending on the size of the items in the library and your internet connection.
After upgrading, you have access to the following:
-
Full-resolution photos and videos are now supported across all common formats.
-
You can filter by photos or videos. Tap the Filter button, then tap Media Types.
-
There’s a Create Shared Album option for any existing album. Tap the More button, then tap Create Shared Album.
-
Albums can be set to expire after 30 days, but only when created. After creating a Shared Album from an existing album or by tapping the Add button in the Collections > Shared Albums view, enable Make Album Temporary.
-
You can create an upload link that allows anyone—not just people with access to the album—to upload images. With the album selected, tap the Share button, tap “Only invited people can join,” and choose Anyone with the Link. (This is similar to other kinds of sharing across iOS 27/iPadOS 27).
-
A recent activity log lets you see changes made to the album, including emoji reactions. (This doesn’t yet appear to be in place.)
14. Save a video frame
Three other changes, two new and one set of improvements, may be of interest.
You can extract a frame from a paused video to save as an image. Tap the More button and choose Save Video Frame.
15. Force Photos to sync now
Photos often decides to pause syncing to iCloud to avoid draining the battery, even when the battery is quite full. You can now go to Settings > Apps > Photos > Sync Immediately and choose For Today. This prioritizes syncing instead of preserving battery life for the remainder of the calendar day. If Low Power Mode or Low Data Mode are enabled, Photos will still pause until those modes are turned off, such as by recharging the phone for the former.
16. Slideshows from any album
Slideshows can now be built from any album or even a selection of media, rather than relying on memories.
17. Podcasts searches episode notes
If you navigate to a podcast’s view of all of its episodes by tapping the podcast and then tapping Episodes, you can now search against the title and show notes of all listed episodes.
This doesn’t search transcripts, which Podcasts generates for some shows. It searches only the per-episode notes published in the podcast feed.
18. Reminders actions in Shortcuts
Reminders actions now appear in Shortcuts, too, so you can create and delete groups, manage lists, and create sections.
19. Wallet builds a pass from a plastic card
You can create entries for cards, membership cards, and other kinds of barcode/QR code-related proofs of entry or membership from scratch, a task formerly available only for third-party apps and websites.
Tap the Add icon in Wallet, then tap Create a Pass. You’re guided through a few steps, one of which lets you scan the existing card, so that Wallet can pull in its number, barcode, or QR code. You can fill out details that aren’t present on the card or captured by Wallet.
20. Poster-style membership cards
As you can see in the figures above, a “poster”-style card display used for passes now extends to membership cards, gift cards, and loyalty/reward cards. This new display allows up to two tappable actions.
21. Hotel keys and preauthorized payments
In unrelated updates, Wallet now shows trip details and other real-time updates to hotel keys at hotels that support these new options.
Finally, a new Preauthorized Payments section in Wallet gives you a one-stop insight into what you’ve allowed other companies to charge you for. Apple describes this as “subscriptions and auto-reloads to installment loan repayments, recurring billing, and deferred payments” among other preauthorizations.
22. Change your card mid-checkout
The updated Apple Pay checkout sheet lets you change your payment card directly without canceling, exiting, and starting over. It will also show information like available rewards, debit card balance, and alternative payment options. These changes are noted as coming “this fall,” while “later this year” you’ll be able to add funds to a debit card during a checkout session without exiting, or within Wallet.
23. Apple Pay in any browser
Apple now allows merchants to let you pay with a third-party browser using Apple Pay with a scannable code and an iPhone as the glue. Start the payment in a third-party browser, choose Apple Pay, and the merchant’s site will display a code that can be scanned by an iPhone to authorize Apple Pay.
24. Tap to Share at checkout
Entirely new is Tap to Share with merchants at the point of sale, such as in a store or at a fair. This makes in-person Apple Pay more akin to Apple Pay in Safari. Tap to Share lets an entire set of interactions occur before you pay. You start by approving a connection with a merchant’s iPhone that has a supported payment app. (Ostensibly, this may encompass not just companies like Square and Stripe, but in-house developer apps for retailers like Old Navy or Lowe’s.)
Once you begin, you can choose what you share with the business—like contact details, a shipping address, or your email. This also means you don’t have to state this information aloud or rely on the merchant typing it in correctly! A merchant can offer to sign you up for a membership or loyalty program. You can use a pass from the merchant, or they can issue one, related to discounts, credits, or other transaction-related purposes. Finally, you see the full cart as a digital receipt before completing payment with Apple Pay.
25. Screen Time, rebuilt
On the parental-restriction front, Screen Time was Apple’s most direct foray into enabling guardians to shape children’s digital access. But Screen Time is janky—there’s no better word. It is sometimes hard to configure, it often fails, and kids can work around it even when they aren’t intending to.
Screen Time was created to let parents and guardians set policies for children that were automatically enforced by Apple’s operating systems. No matter what device a child used that was logged in to the same Apple Account, Screen Time restrictions would remain the same. In practice, not so much, and it remains to be seen how well this Apple-described redesign will improve that consistency.
Screen Time controls require that you set up a Child Account, which has to be part of Family Sharing. In the past, I know that parents have sometimes created regular accounts for their children or faked their birth dates to make them older out of frustration with Screen Time and other features that didn’t work as described.
26. A setup assistant for parents
A new tool for parents helps guide them in choosing apps they want their children to have access to.
27. Ask to Browse, for websites
Apple already offered an Ask to Buy option, which let a kid send a request to the account’s owner in the Family Sharing group when they want to make an App Store purchase or download a free app. Ask to Browse builds on that, requiring that child request access to any website they haven’t previously been granted permission to use, or that a parent hadn’t already added to a list of acceptable sites.
The request is sent via Messages to the adult owner of the Family Sharing group and any other adult designated as Parent/Guardian, as you can see in the figure above. The parent or guardian can then tap or click Decline or Approve.
28. Time allowances by category
The previous Screen Time controls for setting how much time apps and other resources could be used were difficult to manage. The new ones, synced across all platforms, let a parent set Time Allowances, with separate settings for weekdays and weekends. Apple has a recommended maximum based on age that they developed in conjunction with child-development experts, they say.
Time Allowances define the total screen time permitted per day, and then are divided up into maximum amounts by category: Entertainment, Games, Social Media, and All Others. Parents can further create time windows within the days during which some categories aren’t available. Apple’s example, shown in the screenshot, is to turn off the Entertainment, Games, and Social Media categories during school hours.
This overhauled approach also gives parents a sort of dashboard for each child. They can see current usage stats. That’s also where a child’s access can be paused—i.e., cut off entirely for the moment—or they can be granted unlimited use for the rest of the day, or until a parent revokes that.
29. Blurring gore, not just nudity
Apple has gingerly expanded features in this category. In this set of releases, Apple has pushed forward just a single change. The Communication Safety feature, which is enabled by default for children 13–17, already blurs any image or video that appears to contain nudity, whether the child is receiving it or attempting to send it, across a range of Apple’s communications apps, including Messages, AirDrop, and FaceTime video messages. The blurred image comes with a warning, offering guidance on seeking help. (For children under 13, they’re also prompted to start a conversation with a parent or guardian.)
In the 27 series of releases, images and video that a screening algorithm determines contain gore or violence also trigger the blur filter and warning.
30. Accessibility Reader gets sharper
Many of these features can benefit a much larger group of people than any narrowly defined as “disabled”; automatic, high-quality captioning of video content is a great example, as is having a voice read text aloud from webpages or describe images.
Stripping out inessential components: Accessibility Reader acts like a beefed-up version of Reader in Safari, removing ads, headers, footers, navigational elements, and other material that isn’t part of the actual webpage or app view content.
Formatting clean-up: While removing unnecessary parts, the reader also structures what remains into more easily readable elements, like headers, lists, and image captions.
Use via any app: Accessibility Reader used to require a shortcut trigger. Now, you can use the share menu in any app to open content in the reader.
More nuanced content interpretation: The reader used to strip tables and images that appeared inline. Those now show up.
Translation: There’s no need to switch to another app or use a pop-up option. Accessibility Reader can translate supported languages into other supported languages.
31. Captions generated for any video
Your iPhone and iPad now generate captions from any uncaptioned video you’re watching in Photos and other supported apps. (This isn’t related to tvOS or TV app captioning.) If captions already exist, you can have them automatically translated between supported languages.
32. Health tracks perimenopause
The big news in the Health app for iPhone is that, if you have periods, Cycle Tracking supports perimenopause and menopause by notifying you when it identifies patterns consistent with perimenopause.
Other changes worth noting include:
- Health now has a Browse button (instead of a search icon), which better identifies what the action is. The design has changed from a list to a series of small color-coded cards.
- iPhones now support GymKit, which was available only on Apple Watch before this. You can now pair an iPhone directly with supported treadmills, bikes, and other gym equipment.
33. Home goes 4K
The Home app now supports 4K resolution video for live streaming and recording from cameras designed for HomeKit Secure Video and with any tier of iCloud+ and that, of course, have 4K output. (Apple still uses the HomeKit name there, even though the concept has been renamed Apple Home.)
If you have more than one camera, Home used to require awkward navigation among them. Now, you can see the previews in the main Home view, but tapping any camera brings up an aggregated view with a unified set of detected events.
34. Maps improves Flyover
Apple says Maps has an “enhanced Flyover” experience. This translates to less weird-looking landscape and building interpolation from satellite and street-level data when you look at cities using Maps’s 3D perspectives.
Maps also adds Local Lists, which are ostensibly algorithmically generated guides to local areas based on aggregated searches. Apple uses the word “trending” a couple of times in describing this feature, so it’s unclear if it’s just search-related—which gives zero insight into the quality of a restaurant or an experience—or factors in other data.
35. Keyboard automations on iPad
Apple rethought the iPad interface with iPadOS 26, adding robust windowing and multitasking features that brought it much closer to a general-purpose computing system like macOS. However, it still retained its unique iPad nature, such as its heavy reliance on gestures. iPadOS 27 builds on these improvements with refinements that help you use an iPad even more fully in the liminal space between tablet and computer.
Apple previously didn’t offer a way to trigger an automation when a keyboard was connected to or removed from an iPad. This frustrated some users, who interact with their iPad differently when a keyboard is connected—such as in a dock-style environment—and when they are using only the touch screen or an Apple Pencil.
Now, you can use Shortcuts to create automations based on whether a keyboard was connected, disconnected, or the keyboard connection state changed. This includes the “Set multitasking mode to” item. You might want to switch between Full Screen Apps and Windowed Apps when using your iPad without a keyboard. You’d have to set up two shortcuts: one would trigger when the keyboard was attached; the other when detached.
36. A persistent iPad menu bar
In iPadOS 26, the menu bar had to be triggered either by swiping down from the top of the display or by hovering with a pointing device, at which point it would appear. It then hid, after a short delay, when it wasn’t in use or being hovered over.
In iPadOS 27, the default behavior appears similar, but there are two significant changes:
- The app name always appears on the far-left side of the menu bar, at the upper-left corner of the screen.
- To unfurl the menu bar, tap or drag over the app name.
Along with that new behavior, you can also opt to have the menu bar remain in place, persistent at all times. Go to Settings > Multitasking & Gestures, then disable Automatically Show and Hide Menu Bar.
37. iPhone apps resize on iPad
iPadOS 27 fills a missing piece in Windowed Apps, the default setting that lets you resize app windows or use them in full-screen mode. iPhone apps that haven’t been developed as universal apps for both iOS and iPadOS still floated in their own fixed-size window.
iPhone apps released for iOS 27 automatically gain the capability to be resized in iPadOS 27, just as they can work at different sizes on different iPhone models.