Got a tip for us?

iPad

The iPad is a tablet computer from Apple that runs the iOS mobile operating system. Similar in functionality to the iPhone, the iPads purpose is often quite different, sometimes even serving as a general desktop computer replacement.

As you type, you can use the iPad keyboard to enter emoji, Memoji, and stickers to express yourself in messages and documents.

You can jump to a category, see the stickers you recently used, and see variations of an emoji, such as different skin tones. You can even make your own stickers and Memoji. You can also replace typed text with a suggested emoji appearing above the keyboard.

Here’s how to add emoji, Memoji, and stickers with the iPad keyboard.

Add an emoji, Memoji, or sticker

  1. Tap a text field. Then tap the Emoji button or the Switch Keyboard key to switch to the emoji keyboard.
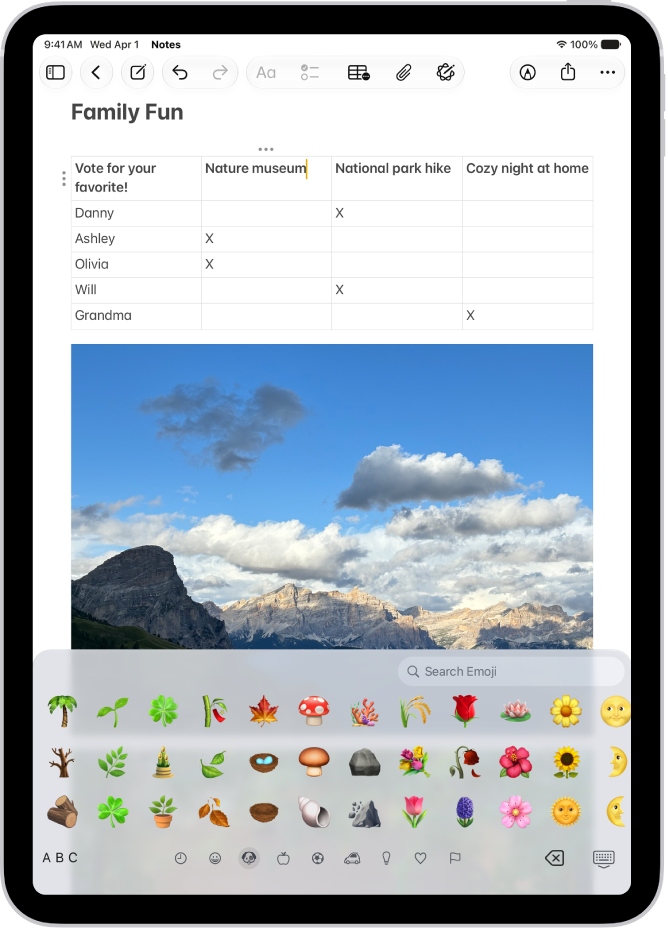
    A note is open in the Notes app in the top of the screen, and the emoji keyboard is open in the bottom of the screen.

  2. Swipe left or right to browse emoji, Memoji, and stickers, or do one of the following:

    • Jump to a category: Tap a symbol below the emoji keyboard.
    • See Emoji, Memoji, and stickers you recently used: Tap the Recent Stickers button below the keyboard.
  3. Tap an image to add it to your text field.

    To see variations of an emoji—such as different skin tones—touch and hold the emoji, then drag your finger and release it on the variation you like.

  4. Tap ABC to return to the regular keyboard.

Quick tip: When a suggested emoji appears above the keyboard, tap it to replace the text you typed.

Make a sticker

While entering text in supported apps, you can turn images in your photo library into a new sticker.

  1. Tap a text field. Then tap the Emoji button or the Switch Keyboard key to switch to the emoji keyboard.
  2. Tap the Stickers button. Then tap the Add Stickers button.

    To search your photo library, enter a term in the search field at the top of screen, or tap a category such as People or Animals.

    Tip: To create a Live Sticker that moves, use a Live Photo. See Make stickers from your photos or Create Live Stickers.

  3. Tap the photo you want to use. Tap Add Sticker.

    The sticker is automatically added to your sticker collection.

Make or edit Memoji

You can create a Memoji while entering text in supported apps, and edit, delete, or duplicate any Memoji you already created.

  1. Tap a text field. Then tap the Emoji button or the Switch Keyboard key to switch to the emoji keyboard.
  2. Tap the Memoji button. Tap the Add button to make your first Memoji or tap the More button to edit, delete, duplicate, or make additional Memoji.
  3. Follow the onscreen instructions to make your Memoji. Then tap the Done button.

    The Memoji is automatically added to your Memoji collection.

See also

In the Passwords app, you can find all your passwords, passkeys, and verification codes in one place. You can use your passwords on all your devices where you sign in to the same Apple Account with Passwords & Keychain turned on in iCloud.

If you use AutoFill to sign in to websites and apps, your passwords automatically appear in Passwords. You can find a password by searching or sorting, and Passwords can even give you security recommendations to change weak passwords.

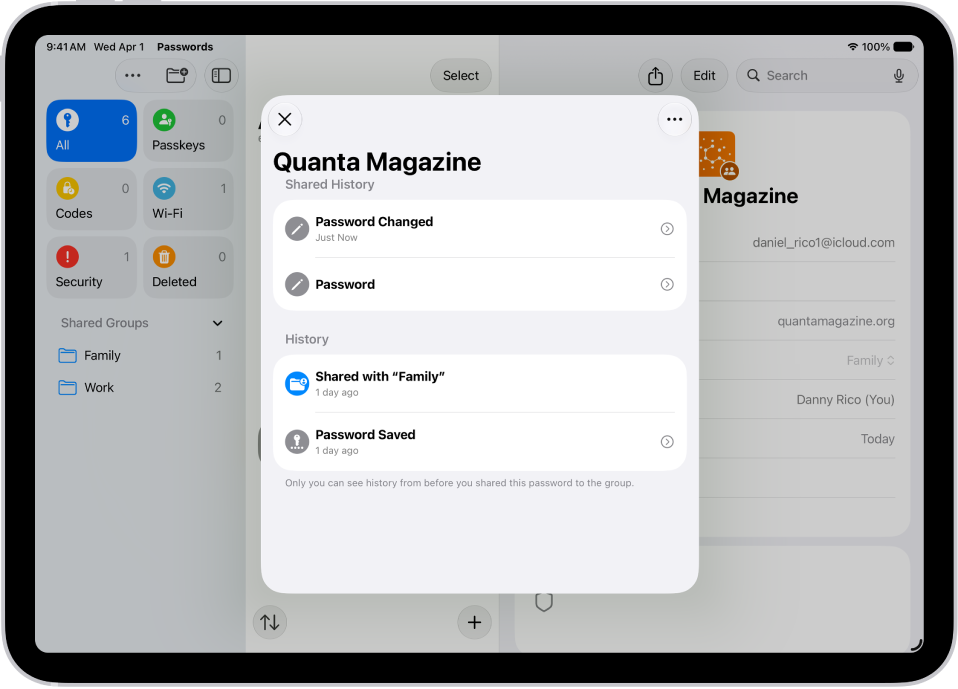
The history of password changes for an account. The password was originally saved a month ago, and it was also changed a month ago.

Here are all the types of password credentials you can see:

  • App passwords
  • Website passwords
  • Sign in with Apple
  • Passkeys
  • Verification codes
  • Wi-Fi passwords
  • Passwords shared with groups

Find a password by searching or sorting. Then tap Edit to reveal the password, or to change or delete the password.

Quick tip: In Passwords, tap Security for recommendations to change weak passwords.

See also

If you have difficulty seeing or following the pointer when you use a mouse or trackpad with iPad, you can change its size and color so it’s easier to locate on the screen. You can also increase its contrast, hide it automatically, and adjust its animations and scrolling speed.

Go to Settings > Accessibility > Pointer Control, then adjust any of the following:

  • Increase Contrast
  • Automatically Hide Pointer
  • Color
  • Pointer Size
  • Pointer Animations
  • Trackpad Inertia (available when a supported multi-touch trackpad is connected)
  • Scrolling Speed

To customize the buttons of the pointing device, go to Settings > Accessibility > Touch > AssistiveTouch > Devices.

See also

You can use Camera or Control Center to scan Quick Response (QR) codes for websites, apps, coupons, tickets, and more. In Camera’s Photo mode, a link appears at the bottom of the screen once the QR code is inside the camera frame. With the Scan Code control in Control Center, you can even add more light with the flashlight.

Use Camera to scan a QR code

  1. Open Camera on your iPad.
  2. In Photo mode, position iPad so that the QR code appears inside the camera frame.
  3. Tap the link that appears at the bottom of the screen.

Use Control Center to scan a QR code

  1. Open Control Center on your iPad.
  2. If you don’t see the Scan Code control, add it to Control Center (see Customize controls).
  3. Tap the Scan Code button. Position iPad so that the code appears on the screen.

    Tip: Tap the flashlight to add more light.

See also

Tag: camera

You can mark audio recordings as favorites and organize your recordings into folders.

Recordings you mark as favorites automatically appear in the Favorites folder. Related recordings can go together into folders, so you can locate them easily, and you can delete or reorder folders later. You can also mark several recordings as favorites at once, and move recordings into a folder.

Here’s how to organize recordings in Voice Memos on iPad.

Note: Smart Folders hold your Apple Watch recordings, recently deleted recordings, and favorites, gathering files automatically by type and subject matter.

Mark recordings as favorites

  1. Go to the Voice Memos app on your iPad.
  2. In the list of recordings, do any of the following:
    • Tap the recording you want to mark as a favorite, then tap the Favorite button above the waveform.
    • Tap Edit above the list of recordings, select one or more recordings, tap Move to Folder, then tap Favorites. (If there isn’t a Favorites folder, create one by entering Favorites in the field.)

Recordings you mark as favorites automatically appear in the Favorites folder.

Organize recordings into folders

To locate related recordings easily, you can group them together into folders.

  1. Open the Voice Memos app on your iPad.
  2. Tap Edit above the list of recordings.
  3. Select one or more recordings, tap the Share button, tap Move to Folder, and choose a folder.

    To create a new folder, tap the New Folder button, type a name for the folder, then tap Save.

To view your folders, tap the Sidebar button; tap a folder to check its contents.

To return to the list of recordings, tap All Recordings above the folders.

Delete or reorder folders

  1. Open the Voice Memos app on your iPad.
  2. Tap the Sidebar button to go to the list of folders.
  3. Tap Edit above the folders and then do any of the following:
    • Delete a folder: Tap the Delete button next to the folder. Tap the Trash button.
    • Change the order of the folders: Drag the Reorder button next to any folder.
  4. Tap Done.

See also

You can easily find and organize web links that friends share with you in Messages conversations. Links shared with you are added to the Shared with You section of the Sidebar in Safari, and you can keep them on your start page, remove them, or organize related links into Tab Groups.

You can display them on your Safari start page, so you see them every time you open a new page, and you can continue the conversation without leaving Safari.

See links from friends in Safari

To find links shared with you easily, show them on your Safari start page, where they’re listed every time you open a new page.

  1. Go to the Safari app on your iPad.
  2. Tap the Show Sidebar button and then tap Shared with You.

    If you don’t see Shared with You, tap the Back button at the top of the sidebar.

    You can also have links shared with you appear on your start page, under Suggestions. See Customize your start page.

Quick tip: You don’t have to leave Safari to continue the conversation. Tap the button below the link preview, and the Messages conversation where the link was shared opens.

Remove a link from the Shared with You section

  1. Open the Safari app on your iPad.
  2. In Shared with You, touch and hold the preview image of a link.
  3. Tap Remove Link.

Organize shared links in a Tab Group

You can group related shared web links into Tab Groups to make them easier to find.

  1. Open the Safari app on your iPad.
  2. In Shared with You, touch and hold the preview image of the link you want to move. Then tap Open in Tab Group.
  3. Tap New Tab Group to create one, or add the link to a Tab Group you already have.

See also

Tag: Safari

When you subscribe to Apple News+, you can access hundreds of magazines and newspapers, along with recipes, puzzles, and audio stories. You can share issues with others or download them for offline reading.

You can subscribe to Apple News+ or to Apple One Premier, which includes Apple News+ and other Apple services. With Family Sharing, you can share Apple News+ with up to five other family members, and they don’t need to do anything to get it.

Here’s how to subscribe to Apple News+ on iPad.

Note: Apple News, Apple News+, Apple One and puzzles aren’t available in all countries or regions.

Subscribe to Apple News+

  1. Open the News app on your iPad.
  2. Do one of the following:

    • Tap the subscription button shown in a magazine, puzzle, recipe, or story.
    • Tap News+ in the sidebar or tab bar, then tap the subscription button.
  3. Follow the onscreen instructions.

    You may be asked to sign in to your Apple Account.

Share Apple News+ with family members

When you subscribe to Apple News+ or Apple One Premier, Apple News+ is something you can share with up to five other family members if you use Family Sharing. They don’t need to do anything, since Apple News+ is available the first time they open News after your subscription begins.

Your own subscription isn’t renewed on your next billing date if you already subscribe and join a family group with Apple News+ or Apple One Premier. You use the group’s subscription instead, and a family group without one uses yours.

Note: If you don’t want to share Apple News+ with a family group anymore, cancel the subscription, leave a Family Sharing group, or remove a member from a Family Sharing group.

Cancel or change your Apple News+ subscription

  1. Open the News app on your iPad.
  2. Tap Subscriptions (in the sidebar below Manage).

    If you don’t see the sidebar, tap the Sidebar button.

  3. Do one of the following:

    • Apple News+ only: Tap Cancel Subscription and then follow the onscreen instructions.
    • Apple News+ and individual channels: Select Apple News+, tap Cancel Subscription, and then follow the onscreen instructions.

See also

Tag: News

You can use the Contacts app to share your own contact information, or another person’s, with someone else using Messages, Mail, or another sharing option. You just choose the contact and the fields you want to include, and send it. You can also add or remove accounts in Contacts.

  1. Start the Contacts app on your iPad.
  2. Select the contact you want to share.
  3. Tap Share Contact, select the fields you want to include, and tap Done.
  4. Select a method to share the contact, then tap Send.

See also

You can increase the size of text on your iPad, make the text bold, choose your preferred look for Liquid Glass, and display more content on the screen.

On supported models, Display Zoom makes text and buttons smaller, so more content fits. If you turned on Reduced Transparency or Increased Contrast, those need to be off before you can change the Liquid Glass look.

Here’s how to adjust iPad display and text settings.

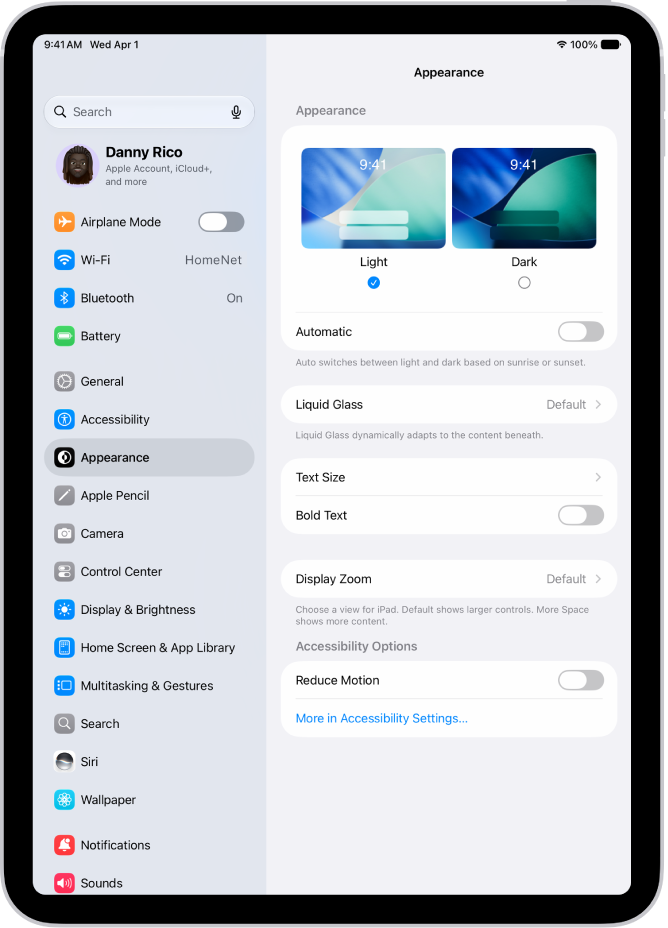
The Display and Brightness screen in Settings.

Adjust the text size

  1. Open the Settings app on your iPad.
  2. Tap Appearance, then tap Text Size.
  3. Drag the slider left or right to change the text size.

Make the text bold

  1. Open the Settings app on your iPad.
  2. Tap Appearance, then turn on Bold Text.

Choose your preferred look for Liquid Glass

  1. Open the Settings app on your iPad.
  2. Tap Appearance, then tap Liquid Glass.
  3. Drag the slider to the right to increase the tint of Liquid Glass, and to the left to make Liquid Glass more clear.

    Note: If you turned on Reduced Transparency or Increased Contrast in Accessibility settings, you need to turn them off to change the look for Liquid Glass.

Fit more content on your screen

Display Zoom on supported models can make text and buttons smaller, so more content fits on your screen.

  1. Open the Settings app on your iPad.
  2. Tap Appearance, tap Display Zoom, and then tap More Space.
  3. Tap the Done button and tap Use More Space.

See also

You can make it easier to read text on iPad by increasing its size, making it bold, and more. A single preferred text size can apply to all supported apps, like Calendar, Mail, Messages, and Notes, and Larger Accessibility Sizes give you even more. You can also turn on Display Zoom, or zoom in on the screen.

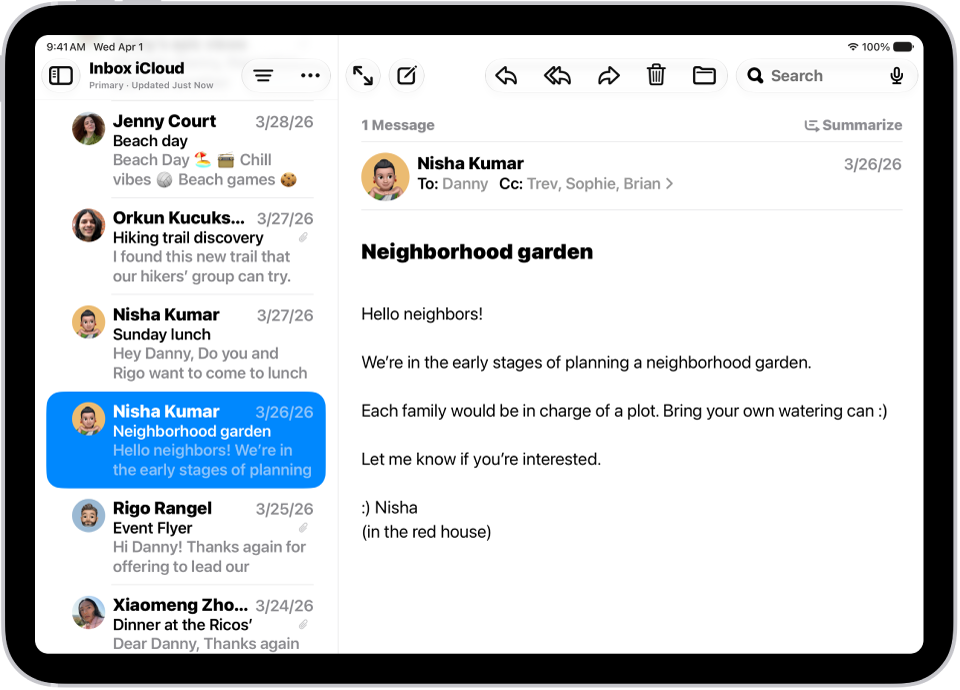
An iPad with the Mail app open. Emails are displayed with large, bold text.

Make text bigger and bolder

A single preferred text size can apply to all supported apps, including Calendar, Mail, Messages, Notes, Settings, and more, and you can also turn on bold text.

  1. Open Settings, tap Accessibility, and then tap Display & Text Size.
  2. Do any of the following:

    • Make text bigger: Tap Larger Text and drag the slider to adjust the text size.

      For additional text sizes, turn on Larger Accessibility Sizes.

    • Make text heavier: Turn on Bold Text.

Quick tip: You can change the size of text while you’re in an app. Just open Control Center and adjust the Text Size slider. If the Text Size slider isn’t there, tap the Add button (top-left corner), then tap Add a Control, and then tap the Text Size control.

For bigger text plus larger interface elements like icons and buttons, you can also turn on Display Zoom.

You can also temporarily hover over text to see it larger, change display colors on iPad to make it easier to see what’s onscreen or zoom in on the screen.

See also