Got a tip for us?

iPad

The iPad is a tablet computer from Apple that runs the iOS mobile operating system. Similar in functionality to the iPhone, the iPads purpose is often quite different, sometimes even serving as a general desktop computer replacement.

You can send a copy of any file to others. If you have a document you want to send that isn’t digitized, you can scan it with the Files app first.

To send a smaller version, you can compress a file before you share it. You can also reply to a document you received. And if your files are stored in iCloud Drive, you can invite others to collaborate on files with you.

Here’s how to send files from the Files app on iPad.

Send a file

  1. Open the Files app on your iPad.
  2. Touch and hold the file you want to send and tap Share.

    Tip: To send a smaller version of the file, tap Compress before you tap Share, touch and hold the compressed version of the file (identified as a ZIP file), then tap Share.

  3. Choose an option for sending (for example, AirDrop, Messages, or Mail) and tap Send.

For files or folders stored in iCloud Drive, you can also invite others to collaborate on files with you, so they can view or edit the contents.

Quick tip: Dragging is another way to send files from the Files app. With a Mail or Messages window open next to the Files window, select one or more items in the Files app and drag your selection into a message. See our article, Change the layout of windows.

Reply to a received document

After saving an attachment from the Mail app, you can reply to the email quickly and return the attachment if you want.

  1. Open the Files app on your iPad.
  2. Touch and hold the file you want to reply to and then tap Reply to.

Scan a document

  1. Open the Files app on your iPad.
  2. Open the location or folder where the document you want to scan is located.
  3. Tap the More button and tap Scan Documents.

See also
Tag: Files

In the Apple Games app, you can subscribe to Apple Arcade to enjoy unlimited access to a curated collection of games on iPhone, iPad, Mac, and Apple TV 4K. You can subscribe to Apple Arcade or to Apple One, which includes Apple Arcade and other services.

With Family Sharing, you can share Apple Arcade with up to five other family members, and they don’t need to do anything. Once your subscription begins, it’s there for them the first time they open the Apple Games app.

Note: Apple Arcade and Apple One aren’t available in all countries or regions. The availability of Apple Arcade games across devices varies based on hardware and software compatibility. Not all Apple Arcade games are available on Mac and Apple TV 4K. Some content may not be available in all areas.

Subscribe to Apple Arcade

  1. Start the Apple Games app on your iPad.
  2. Tap Arcade and tap the subscription button.
  3. Follow the onscreen instructions.

Share Apple Arcade with family members

When you subscribe to Apple Arcade or Apple One, up to five other family members can get Apple Arcade too if you use Family Sharing. Your family group members don’t need to do anything. Apple Arcade becomes available when they first open the Apple Games app after your subscription begins.

If you join a family group that subscribes to Apple Arcade or Apple One while you already subscribe, your own subscription won’t renew on your next billing date, and you’ll use the group’s subscription. If the group doesn’t subscribe, it uses yours.

Note: You can stop sharing Apple Arcade with a family group by canceling the subscription or choosing to leave the family group. If you’re the family group organizer, you can also stop using Family Sharing.

Play Apple Arcade games on your Apple devices

If you subscribe to Apple Arcade, your game progress follows you to every compatible device signed in to the same Apple Account, where you can play and pick it up.

Change or cancel your Apple Arcade subscription

  1. Start the Settings app on your iPad.
  2. Tap your name and then tap Subscriptions.
  3. Tap Apple Arcade or Apple One and then follow the onscreen instructions.

Canceling your subscription means you can’t play any Apple Arcade games, including ones you downloaded to your device.

Resubscribe if you want to play Apple Arcade games again and get back access to your gameplay data. Wait too long, and some of your gameplay data might not be supported after you resubscribe.

See also

With AirPods 3 or later, AirPods Pro, or AirPods Max, you can adjust the accessibility settings to suit your mobility or hearing needs. You can change the press speed and how long you press and hold, and with AirPods Pro, even use noise cancellation with one AirPod.

  1. Open Settings, tap Accessibility, and then tap AirPods.
  2. If you have multiple AirPods, select one.
  3. Set any of the following options:
    • Press Speed: Adjust how quickly you must press two or three times before an action occurs.
    • Press and Hold Duration: Adjust the duration required to press and hold on your AirPods.
    • Noise Cancellation with One AirPod: With AirPods Pro, turn on noise cancellation even when you’re using only one of your AirPods.
    • Spatial Audio Head Tracking: When you turn on Follow iPad, Spatial Audio sounds like it’s coming from your iPad instead of following the movement of your head (for supported audio and video content).
    • Tone Volume: Adjust the volume of the sound effects that are played by your AirPods, such as low battery alerts.

With AirPods Pro 2, you can take a hearing test using your iPad. And for perceived mild to moderate hearing loss, the Hearing Aid feature can provide hearing assistance.

See also

Tag: AirPods

In the Podcasts app, you can listen to content from Apple Music, Apple News+, and eligible third-party subscription apps. If you subscribed through the App Store, the connection happens on its own, as long as the app offers content in Podcasts. Once it’s connected, you can play its subscriber-only shows.

Note: Not all apps offer content that’s available in Podcasts.

Eligible app subscriptions connect to Podcasts automatically when the app offers content in Podcasts and you subscribed through the App Store.

If you subscribed using another method, do the following:

  1. Open the Podcasts app on your iPad.
  2. Search or browse for a channel with an eligible subscription.
  3. On the Channel page, tap the Already a Subscriber link and then follow the instructions to connect your app subscription.

After an app subscription is connected, its channel shows up in your library, and all its subscriber-only shows and episodes play in Podcasts.

See also

Switch Control is an assistive technology for anyone with limited mobility. It enables you to interact with iPad by activating a switch, such as pressing an external adaptive button, performing a head movement, or making a voiced or voiceless sound. You can even use the iPad screen itself as a switch, with no extra hardware.

Using one or more switches, you can move a cursor around the screen and use the Scanner menu to choose an action, like tap, zoom in, or zoom out. A switch can be an external hardware device, or even a feature on your iPad, like Back Tap or simple sounds.

What is a switch?

A switch can be an external hardware device or a feature on your iPad.

Some switches on iPad need no additional hardware at all, including these:

  • Screen: Use a tap or long press anywhere on the iPad screen. You can set up tap and long press as two different switches with separate actions.
  • Camera: While in view of the front-facing iPad camera, move your head to the left or right, or pinch your left or right index finger and thumb. You can set up each gesture as a different switch with a separate action.
  • Back Tap: Double-tap or triple-tap the back of iPad. You can set up double tap and triple tap as two different switches with separate actions.
  • Sound: Make simple voiced sounds (such as “Oo”) or voiceless sounds (such as a pop). You can set up each sound as a different switch with a separate action.
  • AirPods: Nod or shake your head while wearing supported AirPods that are paired with your iPad. You can set up nod and shake as two different switches with separate actions.
  • Gaming: Turn any switch into a virtual game controller to play your favorite games on iPad.

External switches, which connect to iPad through Bluetooth® or the Lightning or USB-C connector, include:

  • Adaptive accessory
  • Joystick
  • Game controller
  • MFi switch or switch interface

How does Switch Control work?

In Switch Control, each switch handles a specific action. Move To Next Item, for example, sends the cursor to the next item on the screen, and a switch’s action happens when you activate it, like by making a sound, moving your head, or pressing the adaptive button.

Use one switch, or several switches for different actions, whichever fits how you like to work. With your Move to Next Item switch, you can move the cursor from one item to the next, then activate your Select Item switch when the cursor highlights the item you want.

See also

In a Reminders list, you can check off items to hide them, or you can permanently delete items. With the Reminders widget, you can complete items from the iPad Home Screen or Lock Screen.

Completed items are hidden on your list, but you can unhide them or clear them to delete them. The widget lets you complete items without opening the Reminders app.

Here’s how to complete items in Reminders on iPad.

Mark items as completed

  1. Go to the Reminders app on your iPad.
  2. While viewing a list, tap the empty circle next to an item to mark the item as completed.

    Completed items are hidden on your list.

To unhide completed items, tap the More button, then tap Show Completed. To delete the completed items, tap Clear.

Use the Reminders widget

With the Reminders widget, you can complete items from the Home Screen or Lock Screen without opening the Reminders app.

  1. On the iPad Home Screen or Lock Screen, add the Reminders widget.
  2. To change the list shown in the widget, touch and hold the widget and tap Edit Widget. Then choose a list.
  3. To complete an item, tap the item in the widget.

See also

To add an app to your iPad, you can download it from the App Store. When you download an app, you can choose to add it to both your Home Screen and App Library, or to App Library only.

Apps in App Library can be moved to the Home Screen anytime, and you can choose where new apps get downloaded by default.

Here’s how to add an app on iPad.

Choose where apps get downloaded

  1. Open the Settings app on your iPad.
  2. Tap Home Screen & App Library. Choose Add to Home Screen or App Library only.

Move an app from App Library to the Home Screen

If you download an app to App Library, you can easily move it to the Home Screen.

  1. Swipe left past all your Home Screen pages to get to App Library.
  2. Touch and hold the background until the apps begin to jiggle.
  3. Touch and hold the app you want to move and drag it to the left.

See also

You can change your mind and unsend an email message in the Mail app with Undo Send. You can also set a delay for all emails to give yourself a little more time to unsend them.

Normally, there are 10 seconds to change your mind after you’ve sent an email, and a delay gives you more time than that, for whatever length you choose. You can also check your email, send email, and save a draft in Mail on iPad.

Undo a sent email

After you send an email message, you have 10 seconds to change your mind.

Tap Undo Send at the bottom of the email list to pull back the message.

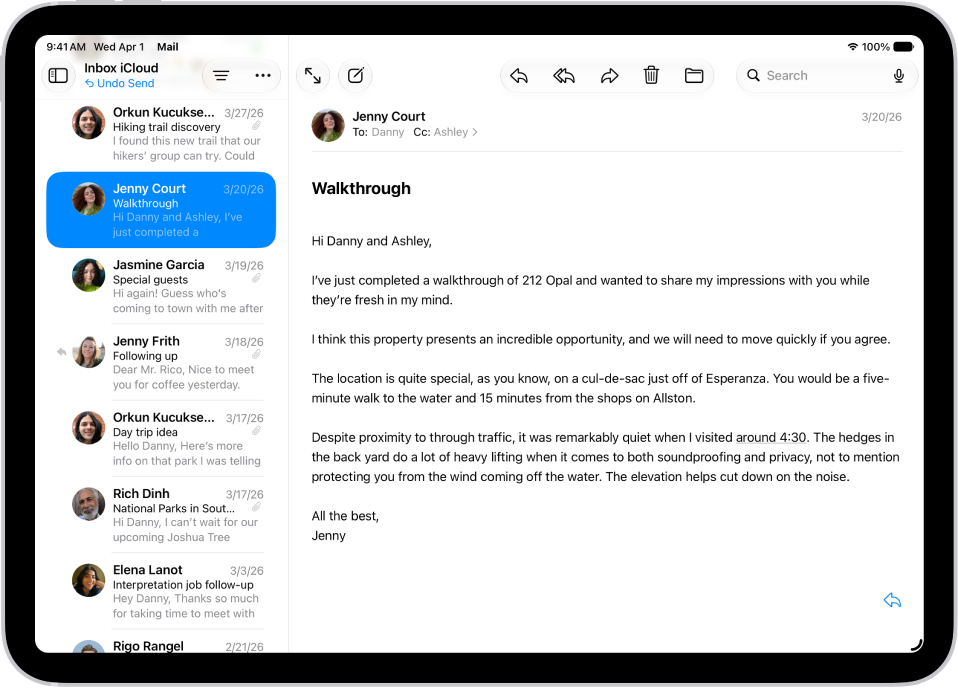
The Mail Inbox, with the list of messages on the left, and an open message on the right. The Undo Send button (for pulling back a recently sent message) is at the bottom of the message list.

Delay sending emails

Setting a delay gives you extra time to change your mind and unsend emails.

Go to Settings > Apps > Mail, tap Undo Send Delay, then choose a length of time to delay outgoing email messages.

See also

Tag: Mail

The Lock Screen, which shows the current time and date and your most recent notifications, appears when you first turn on or wake iPad. From it, you can see notifications, open Camera and Control Center, get information from your favorite apps at a glance, and control media playback.

You can personalize your Lock Screen with a wallpaper, a favorite photo, a different font for the time, and widgets. See Create a custom iPad Lock Screen. And you can choose whether notification previews show while iPad is locked.

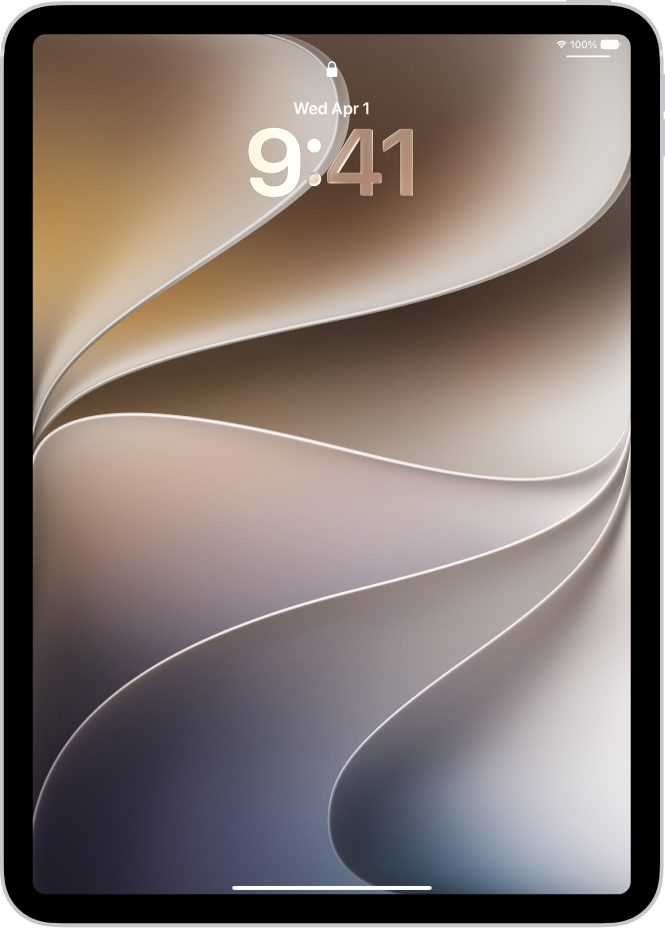
The iPad Lock Screen showing the time and date.

Access features and information from the Lock Screen

Even while iPad is locked, you can get to the features and information you need most right from the Lock Screen.

  • Open Camera: Swipe left. See Take photos with your iPad camera.
  • Open Control Center: Swipe down from the top-right corner. See Use and customize Control Center.
  • See earlier notifications: Swipe up from the center. See View and respond to notifications.
  • View more widgets: Swipe right. See Add, edit, and remove widgets. You can interact with widgets on the Lock Screen and the Home Screen to perform tasks—for example, tap an item in the Reminders widget to check it off, or tap the Play button in the Podcasts widget to play an episode.
  • Start drawing and taking notes: On supported models, tap Apple Pencil on the Lock Screen. Whatever you create is saved in Notes.
  • Control media playback: Use the playback controls (Now Playing) on the Lock Screen to play, pause, rewind, or fast-forward media playing on your iPad. See View and control Live Activities on the Lock Screen.

To choose what you can get to from the Lock Screen, check out our guide, Turn on Lock Screen features.

Show notification previews on the Lock Screen

  1. Start the Settings app on your iPad.
  2. Tap Notifications, tap Show Previews, and tap Always.

Notification previews show text from Messages, lines from Mail messages, and Calendar invitation details. To learn more, see our article, View and respond to notifications.

View and control Live Activities on the Lock Screen

An app’s Live Activities can show up on your Lock Screen, which makes it easy to follow their progress. Think order updates from food delivery apps, directions from Maps, live sports updates from the Apple TV app, and more.

Playing music, a movie, or other media on iPad? The playback controls on your Lock Screen let you play, pause, rewind, and fast-forward these Live Activities. From the iPad Lock Screen, you can even control media playback on a remote device, like your Apple TV 4K or HomePod.

To change your Live Activity settings, go to the Settings app, tap Apps, tap the app with the settings you want to change, then tap Live Activities.

Note: Not all apps have a Live Activities setting.

Monitor background tasks

On iPad, you can start an extended background task, like downloading a file from Safari, and move on to another task while it finishes. Background tasks keep running until they’re completed while you’re doing something else.

Ongoing background tasks show up as Live Activities on your Home Screen and Lock Screen, letting you know they’re running so you can monitor their progress.

See also

You can select your favorite categories and channels in the Podcasts app to get better show recommendations and access shows from your subscriptions. Favorite categories rank higher in search results, and favorite channels are easier to find in your library. You can remove them if you change your mind, too.

Select your favorite categories

Adding categories to your favorites gets you better show recommendations and easy access to category pages. Favorite categories also rank higher in search results, and they appear with a Favorite icon at the top of the Manage Categories screen.

  1. Start the Podcasts app on your iPad.
  2. In the sidebar, tap Categories.
  3. Do any of the following:
    • Add a category to your favorites: Tap a category, then tap the Favorite button. To add a new category as a favorite, tap Manage. Then select one or more categories.
    • Remove a category from your favorites: Tap a category, then tap the Remove Favorite button. You can also tap Manage. Then tap the Remove Favorite button next to a category.

Select your favorite channels

Favorite channels are easier to find in your library, though you can remove them from your favorites if you change your mind. In the Library, a Favorite icon marks them at the top of the Channels section.

Note: If you haven’t subscribed to any channels yet, followed any shows that a channel offers, or added a channel as a favorite, Channels won’t appear in the sidebar.

  1. Start the Podcasts app on your iPad.
  2. In the sidebar, tap Channels.

    You can also search or browse for a channel.

  3. Do any of the following:

    • Add a channel to your favorites: Tap the channel and tap the Favorite button.
    • Remove a channel from your favorites: Tap the channel, then tap the Remove Favorite button.

See also