Got a tip for us?

iPad

The iPad is a tablet computer from Apple that runs the iOS mobile operating system. Similar in functionality to the iPhone, the iPads purpose is often quite different, sometimes even serving as a general desktop computer replacement.

If the Apple external keyboard you use with iPad doesn’t include accents and other diacritical marks for the language you’re typing, you can use an Option key modifier or the onscreen keyboard to enter those marks.

You can add a keyboard for a language that supports diacritical marks, or choose an alternative keyboard layout that does. You can also switch to a language keyboard with the Switch Keyboard key on Magic Keyboard.

Here’s how to enter characters with diacritical marks on iPad.

Use the Option key to enter a diacritical mark for a character

To enter a character with a diacritical mark, you can press the Option key to select a mark.

  1. Do one of the following:

  2. In an app, press and hold the Option key and then press a key that enters a diacritical mark.

    For example, the Spanish (Mexico) keyboard and the U.S. International – PC alternative layout support these diacritical marks:

    • Acute accent (for example, é): Option-E.
    • Grave accent (for example, è): Option-`.
    • Tilde (for example, ñ): Option-N.
    • Diaeresis or umlaut (for example, ü): Option-U.
    • Circumflex (for example, ê): Option-I.
  3. Press the letter.

    For example, to enter ñ using the Spanish (Mexico) keyboard or the U.S. International – PC alternative layout, press Option-N, then type an n.

Note: With the ABC – Extended alternative layout, you can also enter tone marks for typing Mandarin Chinese in Pinyin orthography. To type ǚ in lǚxíng (“travel”), for example, press Option-V, then type a v. The ABC – Extended layout also lets you type diacritical marks and letters from several European languages, like Czech, French, German, Hungarian, and Polish.

Use the onscreen keyboard to enter a diacritical mark

  1. Switch to the onscreen keyboard.
  2. On the onscreen keyboard, touch and hold the letter, number, or symbol on the keyboard that’s related to the character you want.

    For example, to enter é, touch and hold the e key.

  3. Slide your finger to choose a variant.
  4. To hide the onscreen keyboard when you’re finished, tap the Hide Keyboard button.
On supported models, you can use the built-in flashlight to light your way or get a better view of something. It’s in Control Center. You can also turn it on or off with Siri, and change the brightness of the flashlight, too.

Use Control Center to turn the flashlight on or off

  1. Open Control Center.
  2. Tap the Flashlight button to turn the flashlight on; tap it again to turn it off.

    Note: If you don’t see the Flashlight button in Control Center (on a supported model), you can add it. See Customize controls.

Use Siri to turn the flashlight on or off

You can use Siri to turn the flashlight on or off.

Siri: Ask Siri something like, “Siri, turn on the flashlight.” Learn how to use Siri.

Change the brightness of the flashlight

  1. Open Control Center.
  2. Touch and hold the Flashlight button in Control Center. Slide your finger up or down on the control to adjust the brightness.

See also

When you create an image in the Preview app, you can start with a blank image or with pasted content that was copied to the Clipboard. It can come from the Photos app, the Files app, or Preview. You can then annotate an empty image or an image from the Clipboard with a shape, sticker, or text.

Create an empty image

  1. Open the Preview app on your iPad.
  2. Tap New Document and then choose New Empty Image.

Use an image from the Clipboard

  1. Do any of the following to copy an image to the Clipboard:
    • From the Photos app: Select an image, tap the Share button, and then tap Copy Photo.
    • From the Files app: Touch and hold an image file, then tap Copy.
    • From the Preview app: Touch and hold an image file and tap Copy. You can also open an image file, tap the Share button, and then tap Copy.
  2. Open the Preview app on your iPad.
  3. Tap New Document, then choose New from Clipboard.

You can annotate an empty image or an image from the Clipboard. Tap the Markup button, choose a drawing tool, then draw with your finger or Apple Pencil (on a compatible iPad). See Apple Pencil compatibility with iPad models. You can also tap the Add button, then choose an option such as a shape, sticker, or text.

See also

Tag: Preview

A certificate, also known as a “digital certificate” or a “public key certificate,” is a file that helps keep web communications secure. Certificates are issued by trusted organizations, such as VeriSign, Inc. or RSA Security, Inc. When you visit an encrypted website—to do online banking, for example—Safari checks whether the site’s certificate is legitimate, and if it’s not, Safari warns you.

An encrypted website and Safari work together to encrypt information you exchange with the site. The key used for the encryption is contained in the site’s security certificate. This protects your sign-in information, credit card numbers, addresses, and other secure data.

If you need to connect to a website that requires a personal certificate, you’re provided with a certificate and instructions for installing it. After it’s installed, you gain authenticated access to the website automatically. If you’re unable to access it, contact the website administrator.

Important: If a website doesn’t use the HTTPS protocol, have a digital identity certificate, or encrypt information, the words “Not Secure” appear in the search field. Don’t enter personal or financial information on a website that isn’t encrypted. The website you’re visiting might not be the website you want, and information you enter is vulnerable to theft. Instead, go back to the webpage where you signed in and check for a link to another version of the site that’s encrypted—for example, “Use our secure site.” If available, use it, even if you don’t expect to view or provide private information.

Encryption makes your connection to a website secure, but that’s no guarantee the website itself is trustworthy. Fraudulent websites sometimes pose as trusted websites by swapping one or two letters in the website address. So always check the address in the Safari toolbar and confirm it’s correct.

See also

Tag: Safari

You can forward one or more text messages in a conversation to a different recipient. You just select the messages you want to forward, share them, and enter recipients. To show the message bubbles and timestamps as they appear in a conversation, though, you can send a screenshot instead.

  1. Go to the Messages app on your iPad.
  2. Open a conversation. Touch and hold a message bubble you want to forward.
  3. Tap More, tap to select one or more messages to forward, and then tap the Share button.
  4. Enter recipients, then tap the Send button.

Quick tip: Instead of forwarding messages, send a screenshot as an attached image, and the message bubbles and timestamps look just as they do in the conversation.

See also

To help protect your privacy, your iPad uses a unique private network address, called a media access control (MAC) address, on each Wi-Fi network it joins.

If a network can’t use a private address, like to provide parental controls or to identify your iPad as authorized to join, you can stop using one for that network. Keeping a private address on helps limit how your iPad is tracked across different Wi-Fi networks, though.

Turn a private address off for a network

  1. Open Settings and tap Wi-Fi. Then tap the Settings button for a network.
  2. Turn Private Address off.

    Important: For better privacy, leave Private Address turned on for all networks that support it. Using a private address helps reduce tracking of your iPad across different Wi-Fi networks.

See also

Tag: Wi-Fi

You can tailor your iPad to your own interests and preferences. You can change the look of app icons and widgets on your Home Screen, personalize your Lock Screen, keep your favorite controls handy, turn on built-in accessibility features, and check your privacy settings.

You can choose between light, dark, clear, or tinted for app icons and widgets, and many iPad features, like Silent mode and timer, are always handy in Control Center. And accessibility features support your vision, mobility, hearing, speech, and cognitive needs.

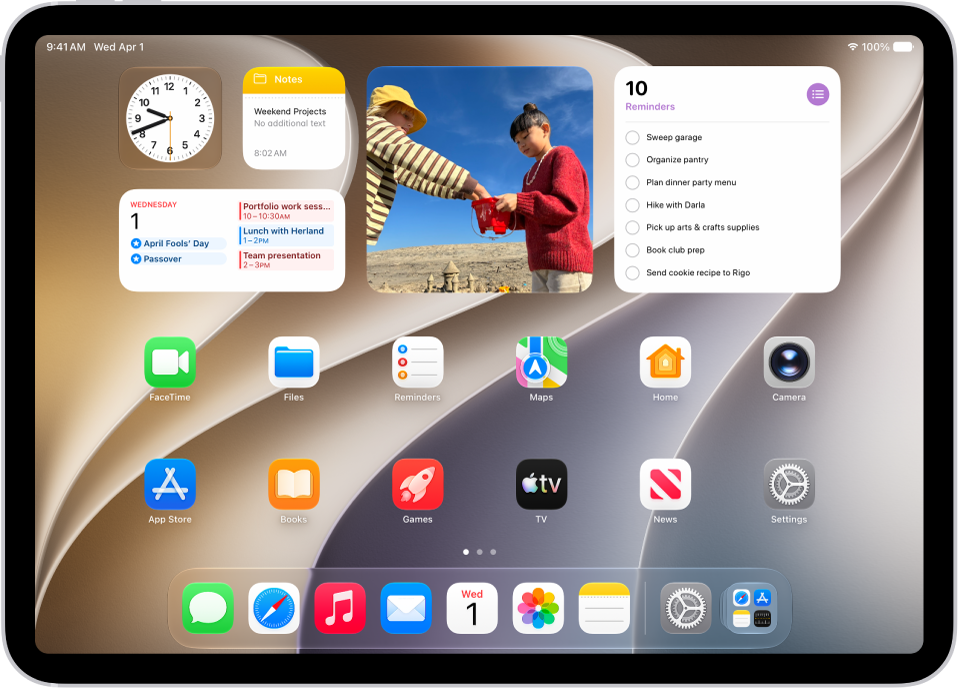
A customized iPad Home Screen with widgets.

Customize your Home Screen

Choose a light, dark, clear, or tinted look and feel for the app icons and widgets on your Home Screen.

Touch and hold the background on any Home Screen page until the apps jiggle. Tap the Customize button, tap Customize, then choose options for your app icons and widgets. Tap the Large Apps button to make icons bigger or smaller. Tap the Customize button, then tap Edit Wallpaper to select a different background image.

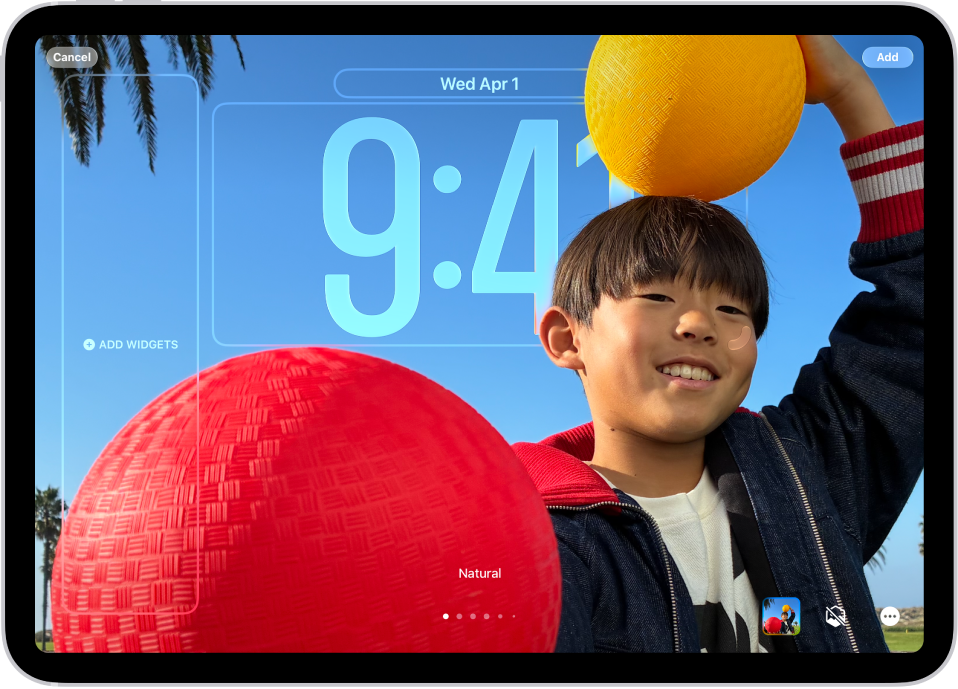
A screen showing customization options for the iPad Lock Screen, including an image chosen from the photo library.

Personalize your Lock Screen

Touch and hold the Lock Screen, then tap the Add New button at the bottom of the screen. Browse the gallery of wallpaper options, then tap one to customize it. On supported models, you see options where the time adapts to what’s on your screen, and also spatial scenes with 3D effects.

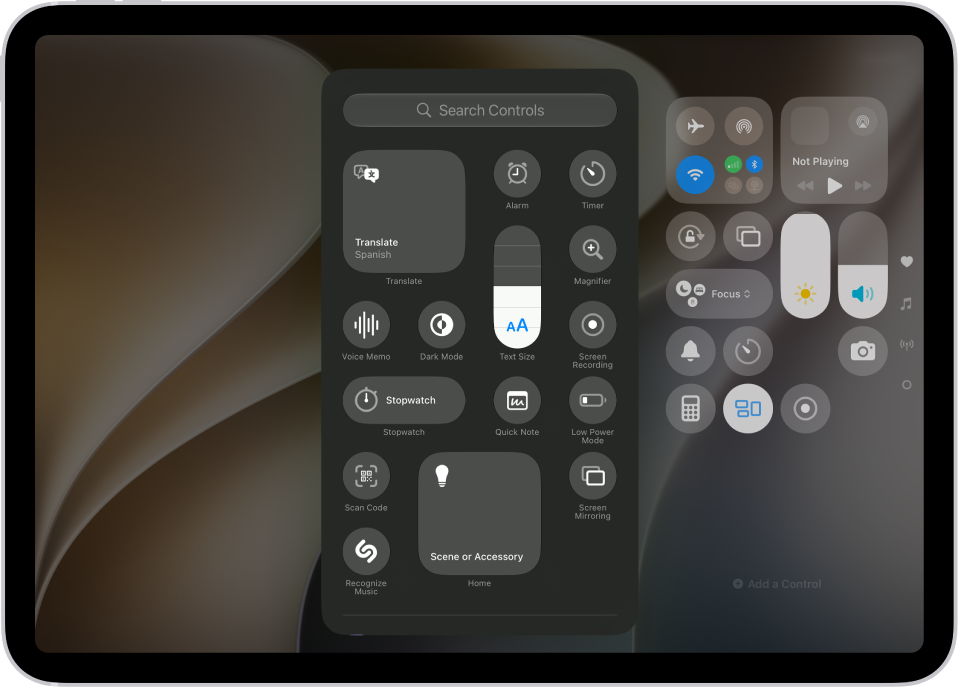
A screen showing controls you can add to Control Center, such as Text Size, Dark Mode, and Quick Note.

Set your favorite controls

Many iPad features—like Silent mode and timer—are just a swipe away in Control Center. To quickly open Control Center, swipe down from the top-right corner.

To add controls, open Control Center, then tap the Add New button. Tap Add a Control, then swipe up to browse the controls gallery. When you see a control you want to add, tap it.

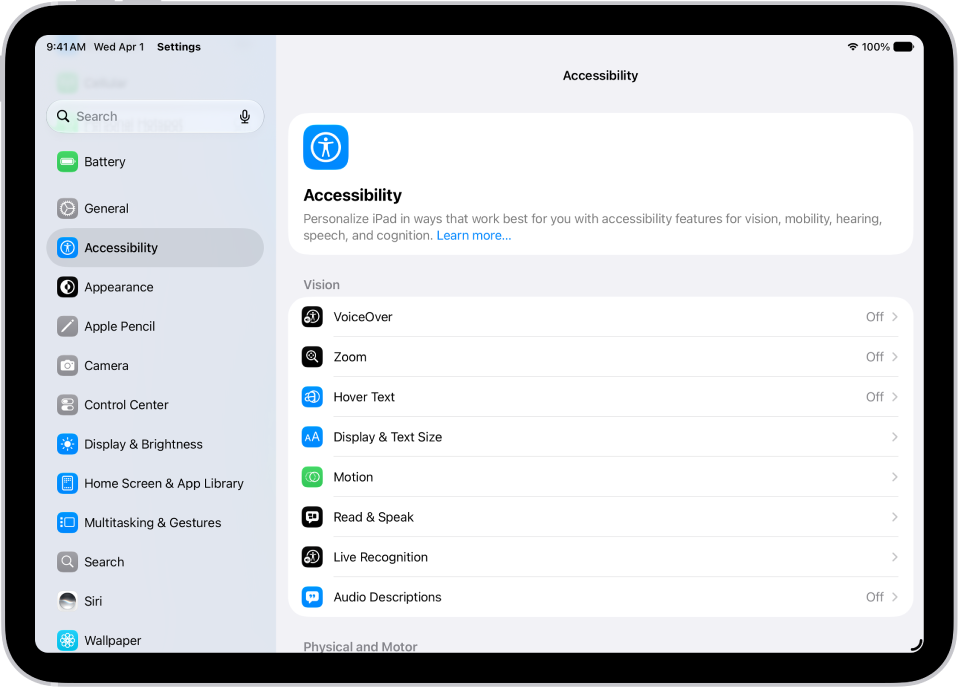
A Settings screen showing Accessibility options such as VoiceOver, Live Recognition, and Audio Descriptions.

Use built-in accessibility features

To support your vision, mobility, hearing, speech, and cognitive needs, iPad provides many accessibility features. They let you change text size, make the touchscreen easier to use, control iPad with just your voice, and more.

To customize these settings, go to the Settings app, then tap Accessibility.

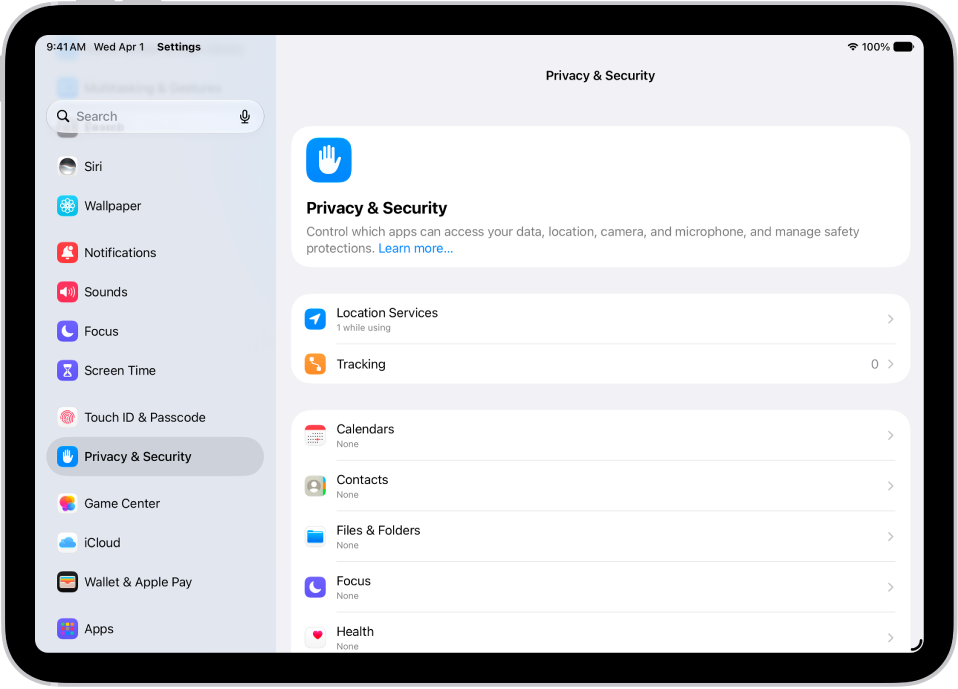
A Settings screen showing Privacy & Security options such as Location Services and Tracking.

Check your privacy settings

iPad is designed to protect your data and your privacy. You can grant or deny apps permission to track your activity across other companies’ apps and websites.

To deny requests from apps to track your activity, go to the Settings app, tap Privacy & Security, tap Tracking, then turn off Allow Apps to Request to Track.

To make iPad even more your own, start with these guides:

Apple notes that the availability of features may vary depending on your country, region, and iPad model.

You can choose how long the iPad display stays on before iPad locks automatically, and you can also prevent iPad from locking when it’s in use for a task like reading or following a recipe.

Many apps, like Maps, video players, and reading apps, keep iPad from locking while they’re in use. Delaying Auto-Lock may increase power consumption, though. And when you can’t change Auto-Lock, it may be because Guided Access is turned on.

Here’s how to keep the iPad display on longer.

Change when iPad automatically locks

  1. Open the Settings app on your iPad.
  2. Tap Display & Brightness and tap Auto-Lock.
  3. Choose a time interval.

Note: Delaying or preventing Auto-Lock may increase power consumption.

If you can’t change Auto-Lock, Guided Access might be turned on, and it disables Auto-Lock while it’s active. For more, see our guide, Set up Guided Access.

Keep the display on while using an app

When they’re actively being used, many apps, such as reading apps, video players, and Maps, keep iPad from locking automatically. There’s no need to change Auto-Lock for these apps.

If an app locks the screen when you don’t want it to, check whether the app has a setting to prevent Auto-Lock.

When iPad is connected to an external display or Stage Manager is on, your screen may stay on past your Auto-Lock setting. And while content is displayed on the external screen, iPad stays active.

See also

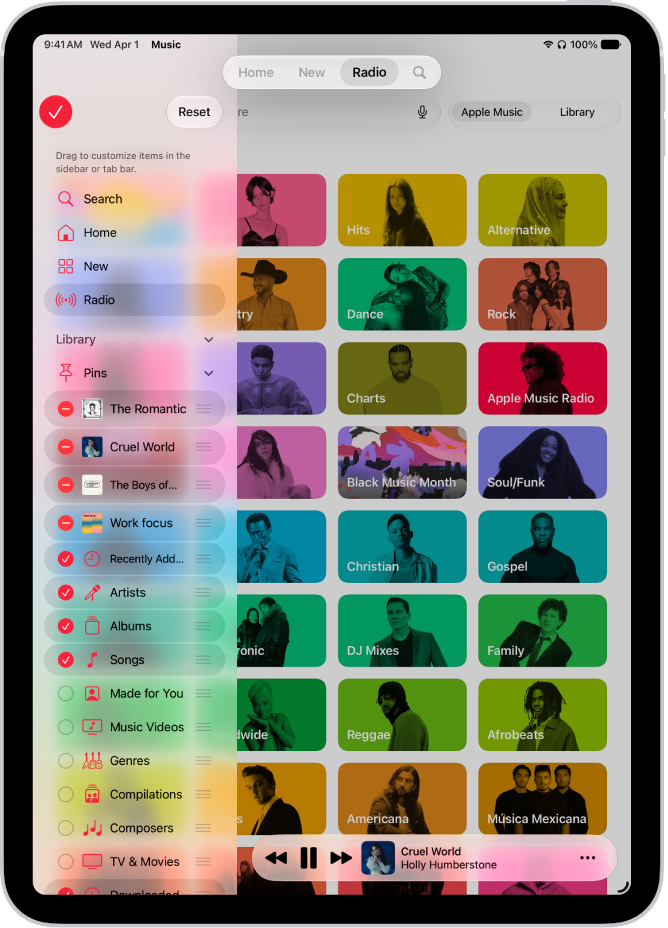
On your iPad, you can customize the layout in Music, both the tab bar and the sidebar, to personalize your experience. You can add items or remove them from the sidebar. You can also change their order, and add an item to the tab bar, such as Favorite Songs, or remove an item from the tab bar.

  1. Open the Music app on your iPad.
  2. Tap Edit at the top of the sidebar. If you don’t see the sidebar, tap the Show Sidebar button in the tab bar at the top.

    Tip: You can also touch and hold the tab bar.

  3. Do any of the following:

    • Customize the sidebar: Tap items below Library to add or remove them from the sidebar; drag the Reorder button next to items to change their order.
    • Customize the tab bar: To add an item to the tab bar (such as Favorite Songs), drag it from the sidebar to the tab bar; to remove an item, drag it away from the tab bar.

iPad in portrait orientation, showing options to edit the sidebar at the left and the tab bar at the top of the screen.

See also

Tag: Music